Initialization
This section outlines the steps to initialize the Apptrove Unity SDK in your Unity project, enabling tracking of user interactions, attribution, and campaign analytics. Initialization involves retrieving your SDK key from the Trackier MMP Panel, configuring the SDK with the key and environment, and optionally associating user information.
Prerequisites
- Apptrove Unity SDK installed in your Unity project
- A Trackier MMP account with access to the Trackier Panel
- Unity Editor 2019.4 or later
- Basic knowledge of C# scripting
Retrieve Your SDK Key
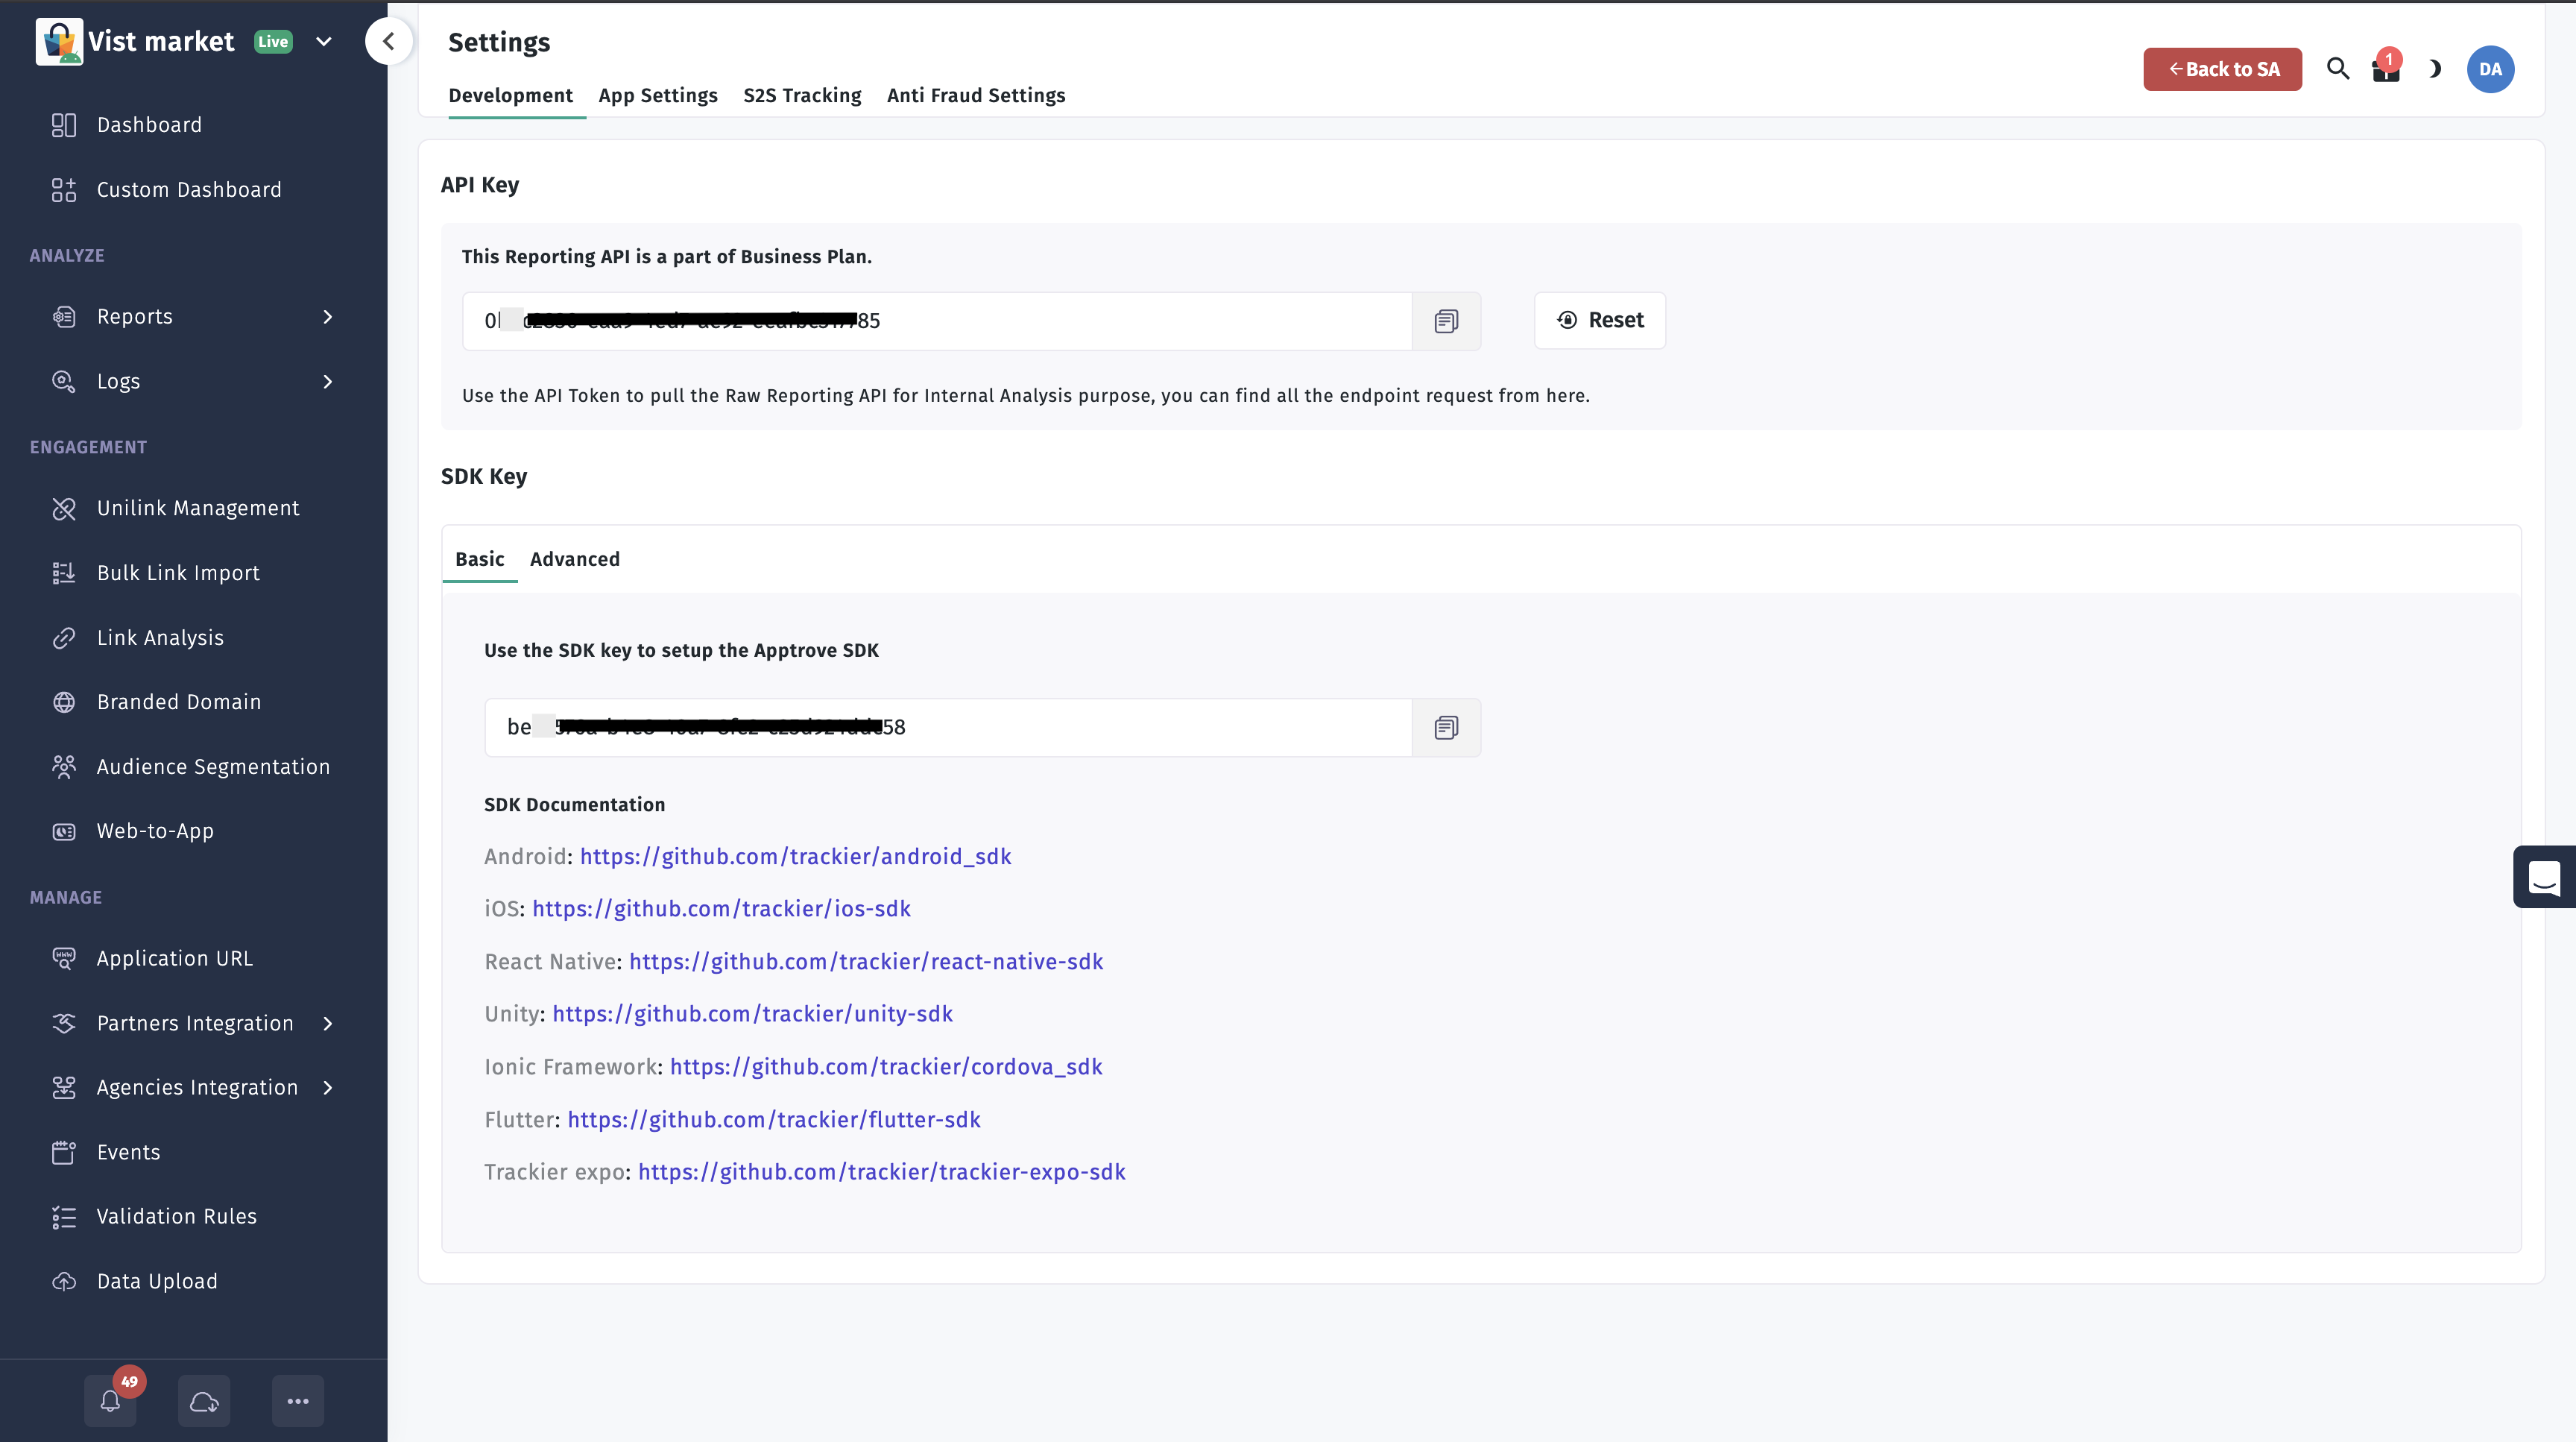
To initialize the Apptrove SDK, you need an SDK key from the Trackier Mobile Marketing Platform (MMP) Panel.
Steps to Retrieve the SDK Key
- Log in to your Trackier Panel.
- Select your application and click the Action button to log in.
- In the Dashboard, click the SDK Integration option on the left side of the panel.
- Under the SDK Integration section, copy the SDK Key.
Initialize the SDK
After importing the SDK package, a Trackier folder containing the Trackier.cs file will be available in your project's Assets directory. Initialize the SDK by configuring the TrackierConfig object with your SDK key and environment.
Step 1: Add Initialization Code
Add the following C# code to a script in your Unity project to initialize the SDK. Replace the placeholder SDK key and secret values with those obtained from the Trackier Panel.
using System.Collections;
using System.Collections.Generic;
using UnityEngine;
using com.trackier.sdk;

namespace com.sampleapp
{
    public class Script : MonoBehaviour
    {
        // Start is called before the first frame update
        void Start()
        {
            /* While Initializing the SDK, you need to pass the two arguments in the TrackierSDKConfig.
               You need to pass the Apptrove SDK api key in the argument */
            TrackierConfig trackierConfig = new TrackierConfig("e69b921c-bbe8-xxxx-xxxx-5a9678abffea", "development"); // Pass SDK key and environment
            trackierConfig.setAppSecret("6419510xxxxxxxa686cf1", "MzgwYWMwOTQt6xxxxxxxxxxxxxxtZTk3MTMwNTMzMjQ5");
            TrackierUnity.initialize(trackierConfig);
        }

        // Update is called once per frame
        void Update()
        {
        }
    }
}
Parameters
- SDK Key: The unique key retrieved from the Trackier Panel (e.g.,
e69b921c-bbe8-xxxx-xxxx-5a9678abffea). - Environment: Set to
"development","production", or"testing"based on your deployment stage. - Secret ID and Key: Optional parameters for enhanced security via SDK signing. Obtain these from the Trackier Panel if required.
Step 2: Attach the Script
- Create a new GameObject in your Unity scene or select an existing one.
- Attach the script containing the initialization code to the GameObject.
- Ensure the script executes during the application's startup (e.g., in the
Start()method).
Expected Outcome
The SDK will initialize when the application starts, enabling tracking capabilities. Verify initialization by checking for debug logs (if enabled) or testing tracking features like events.
Associate User Info
The Unity SDK input does not specify how to associate user information. This subsection is included to align with the Flutter SDK structure. Provide specific details (e.g., methods to set user ID, email, or other data) to refine this section.
To enhance attribution and personalization, you can associate user information (e.g., user ID, email) with the SDK. This typically involves calling a method to set user data after initialization.
// Placeholder: Example method to set user information (update with actual method if available)
TrackierUnity.setUserId("user123");
TrackierUnity.setUserEmail("user@example.com");
Steps (Placeholder)
- After initializing the SDK, call the appropriate methods to set user data.
- Ensure user data complies with privacy regulations (e.g., GDPR, CCPA).
- Verify that user data is correctly tracked in the Trackier Panel.
Best Practices
- Secure SDK Key: Store the SDK key and secret ID/key securely (e.g., in a configuration file or environment variables) and avoid hardcoding them in source code.
- Choose the Correct Environment: Use
"development"or"testing"for testing and"production"for live apps to avoid mixing test and production data. - Initialize Early: Initialize the SDK as early as possible in the app lifecycle (e.g., in the first scene's
Start()method) to ensure all events are tracked. - Validate Initialization: Test initialization in a development environment and verify that the SDK key is correctly recognized in the Trackier Panel.
- Use Version Control: Commit initialization scripts to version control to track changes and facilitate collaboration.
Troubleshooting
- SDK Key Invalid:
- Verify the SDK key is correctly copied from the Trackier Panel without extra spaces or characters.
- Ensure you're using the key for the correct application in the Trackier Panel.
- Initialization Fails:
- Check the Unity Console for error logs related to the
TrackierUnity.initializecall. - Confirm the
Trackier.csfile is present in theTrackierfolder under Assets.
- Check the Unity Console for error logs related to the
- Environment Issues:
- Ensure the environment parameter (
"development","production", or"testing") matches your deployment stage.
- Ensure the environment parameter (
For further assistance, refer to the Trackier Documentation Portal or contact Trackier support at support@trackier.com.