Initialization
Choose your SDK version below:
- Apptrove SDK → Recommended for all projects (Latest: v2.x.x)
- Trackier SDK → Will be deprecated in August 2026 (v1.x.xx)
Use the tabs below to view initialization code for your chosen SDK.
This section outlines the steps to initialize the Apptrove React Native SDK in your React Native project, enabling tracking of user interactions, attribution, and campaign analytics. Initialization involves retrieving your app token from the Apptrove Panel and configuring the SDK with the token and environment.
Prerequisites
- Apptrove React Native SDK installed in your project
- A Apptrove MMP account with access to the Apptrove Panel
- React Native 0.60 or later
- Basic knowledge of JavaScript and React Native development
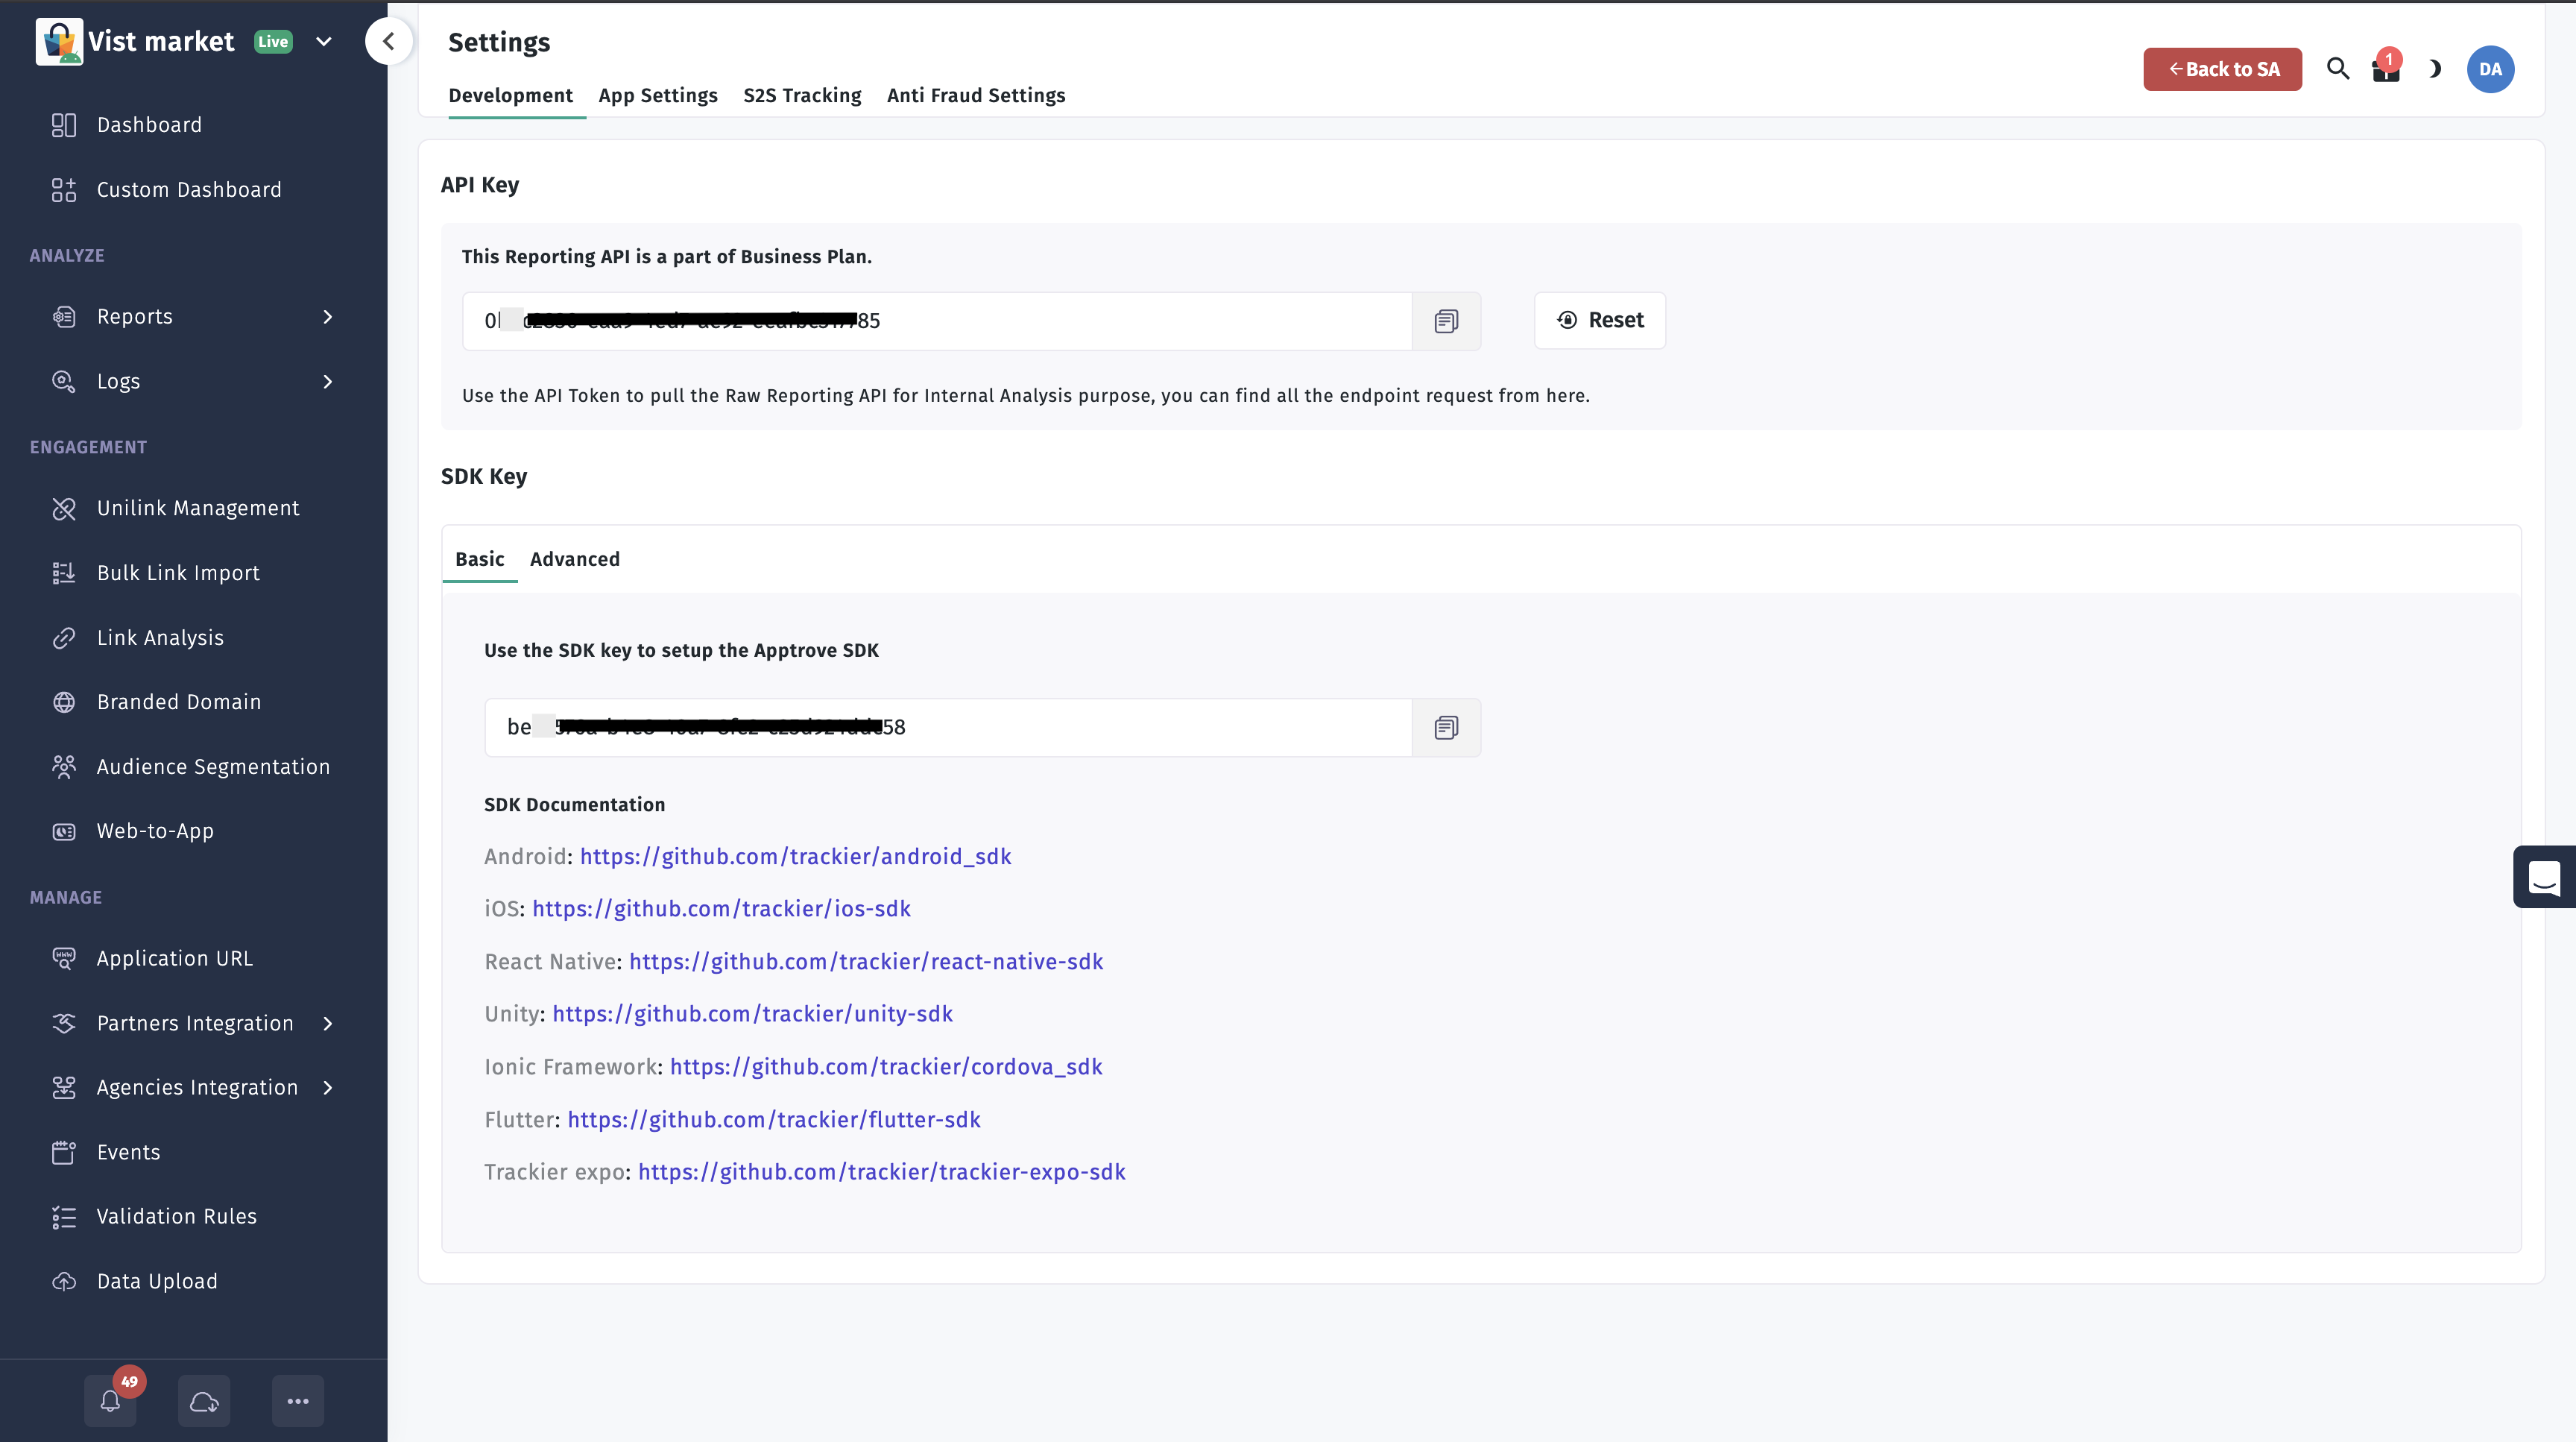
Retrieve Your App Token
To initialize the Apptrove SDK, you need an app token (SDK key) from the Apptrove Panel.
Steps to Retrieve the App Token
- Log in to your Apptrove Panel.
- Select your application from the Dashboard.
- Navigate to SDK Integration via the left-side navigation menu.
- Copy the SDK Key to use as the
app_token.
Initialize the SDK
After installing the SDK, initialize it by configuring the SDK config object with your app token and environment in your React Native application.
Step 1: Import the SDK
Add the import for your chosen SDK (see tabs below).
Step 2: Add Initialization Code
- ✓ Apptrove SDK (Recommended)
- Trackier SDK (Deprecating August 2026)
import React from 'react';
import { ApptroveConfig, ApptroveSDK } from 'react-native-apptrove';
import { StyleSheet, Text, View } from 'react-native';

export default function App() {
  const apptroveConfig = new ApptroveConfig("xxxx-xx-4505-bc8b-xx", ApptroveConfig.EnvironmentDevelopment);
  apptroveConfig.setAndroidId("AndroidTest123");  // Optional, Android only
  ApptroveSDK.initialize(apptroveConfig);

  return (
    <View style={styles.container}>
      <Text>Apptrove React Native SDK Initialized</Text>
    </View>
  );
}

const styles = StyleSheet.create({
  container: {
    flex: 1,
    backgroundColor: '#fff',
    alignItems: 'center',
    justifyContent: 'center',
  },
});
import React from 'react';
import { TrackierConfig, TrackierSDK } from 'react-native-trackier';
import { StyleSheet, Text, View } from 'react-native';

export default function App() {
  const trackierConfig = new TrackierConfig("xxxx-xx-4505-bc8b-xx", TrackierConfig.EnvironmentDevelopment);
  trackierConfig.setAndroidId("AndroidTest123");  // For Android only, optional
  TrackierSDK.initialize(trackierConfig);

  return (
    <View style={styles.container}>
      <Text>Apptrove React Native SDK Initialized</Text>
    </View>
  );
}

const styles = StyleSheet.create({
  container: {
    flex: 1,
    backgroundColor: '#fff',
    alignItems: 'center',
    justifyContent: 'center',
  },
});
Initialize with Apple Ads Token (iOS)
For enhanced tracking on iOS, you can include Apple Ads token initialization:
- ✓ Apptrove SDK (Recommended)
- Trackier SDK (Deprecating August 2026)
import React, { useEffect } from 'react';
import { ApptroveConfig, ApptroveSDK } from 'react-native-apptrove';
import { getAttributionToken } from 'react-native-attribution-token';
import { StyleSheet, Text, View } from 'react-native';

export default function App() {
  useEffect(() => {
    const initializeSDK = async () => {
      try {
        const appleAdsToken = await getAttributionToken();
        if (appleAdsToken) {
          ApptroveSDK.updateAppleAdsToken(appleAdsToken);
        }
      } catch (error) {
        console.log('Error getting Apple Ads token:', error);
      }
      const apptroveConfig = new ApptroveConfig("xxxx-xx-4505-bc8b-xx", ApptroveConfig.EnvironmentDevelopment);
      ApptroveSDK.initialize(apptroveConfig);
    };
    initializeSDK();
  }, []);

  return (
    <View style={styles.container}>
      <Text>Apptrove React Native SDK Initialized</Text>
    </View>
  );
}

const styles = StyleSheet.create({
  container: {
    flex: 1,
    backgroundColor: '#fff',
    alignItems: 'center',
    justifyContent: 'center',
  },
});
import React, { useEffect } from 'react';
import { TrackierConfig, TrackierSDK } from 'react-native-trackier';
import { getAttributionToken } from 'react-native-attribution-token';
import { StyleSheet, Text, View } from 'react-native';

export default function App() {
  useEffect(() => {
    const initializeSDK = async () => {
      try {
        const appleAdsToken = await getAttributionToken();
        if (appleAdsToken) {
          TrackierSDK.updateAppleAdsToken(appleAdsToken);
        }
      } catch (error) {
        console.log('Error getting Apple Ads token:', error);
      }
      const trackierConfig = new TrackierConfig("xxxx-xx-4505-bc8b-xx", TrackierConfig.EnvironmentDevelopment);
      TrackierSDK.initialize(trackierConfig);
    };
    initializeSDK();
  }, []);

  return (
    <View style={styles.container}>
      <Text>Apptrove React Native SDK Initialized</Text>
    </View>
  );
}

const styles = StyleSheet.create({
  container: {
    flex: 1,
    backgroundColor: '#fff',
    alignItems: 'center',
    justifyContent: 'center',
  },
});
To use Apple Ads token functionality, first install the react-native-attribution-token library:
npm install react-native-attribution-token
Parameters
- App Token: The unique SDK key retrieved from the Apptrove Panel (e.g.,
xxxx-xx-4505-bc8b-xx). - Environment: Set to one of the following values based on your deployment stage:
EnvironmentTestingEnvironmentDevelopmentEnvironmentProduction(UseApptroveConfig.Environment*orTrackierConfig.Environment*depending on your SDK.)
Step 3: Verify Initialization
- Run your React Native project using
npm start. - Test on an Android or iOS device/emulator to ensure the SDK initializes without errors.
- Check the console logs for any initialization-related messages (if debug logging is enabled).
Expected Outcome
The SDK will initialize when the application starts, enabling tracking capabilities. You can verify initialization by testing tracking features like events or checking the Apptrove Panel for data.
Best Practices
- Secure App Token: Store the app token securely (e.g., in a configuration file or environment variables) and avoid hardcoding it in source code.
- Choose the Correct Environment: Use
EnvironmentDevelopmentorEnvironmentTestingfor testing andEnvironmentProductionfor live apps to avoid mixing test and production data. - Initialize Early: Initialize the SDK as early as possible in the app lifecycle (e.g., in the main
App.jscomponent) to ensure all events are tracked. - Validate Initialization: Test initialization in a development environment and verify that the app token is correctly recognized in the Apptrove Panel.
- Use Version Control: Commit initialization code to version control to track changes and facilitate collaboration.
Troubleshooting
- App Token Invalid:
- Verify the app token is correctly copied from the Apptrove Panel without extra spaces or characters.
- Ensure you're using the token for the correct application in the Apptrove Panel.
- Initialization Fails:
- Check the console logs for errors related to SDK initialize (e.g.
ApptroveSDK.initializeorTrackierSDK.initialize). - Confirm the SDK package is correctly installed in
node_modules.
- Check the console logs for errors related to SDK initialize (e.g.
- Environment Issues:
- Ensure the environment parameter (
EnvironmentDevelopment,EnvironmentProduction, orEnvironmentTesting) matches your deployment stage.
- Ensure the environment parameter (
For further assistance, refer to the Apptrove Documentation Portal or contact support at support@apptrove.com.