Integrate SDK
Choose your SDK version below:
- Apptrove SDK → Recommended for all projects (Latest: v2.x.x)
- Trackier SDK → Will be deprecated in August 2026 (v1.x.xx)
Use the tabs below for SDK-specific initialization snippets.
SDK-Specific Quick Initialization
- ✓ Apptrove SDK (Recommended)
- Trackier SDK (Deprecating August 2026)
import { AppTroveConfig, AppTroveSDK } from 'apptrove-expo-sdk';

const config = new AppTroveConfig('YOUR_SDK_KEY', AppTroveConfig.EnvironmentDevelopment);
config.setRegion(AppTroveConfig.IN); // or AppTroveConfig.GLOBAL
AppTroveSDK.initialize(config);
import { TrackierConfig, TrackierSDK } from 'trackier-expo-sdk';

const config = new TrackierConfig('YOUR_SDK_KEY', TrackierConfig.EnvironmentDevelopment);
config.setRegion(TrackierConfig.IN); // or TrackierConfig.GLOBAL
TrackierSDK.initialize(config);
This guide provides step-by-step instructions to initialize the Apptrove Expo SDK in your Expo application. It covers retrieving your SDK key, setting up the SDK configuration, and configuring the SDK for different environments.
Initialization
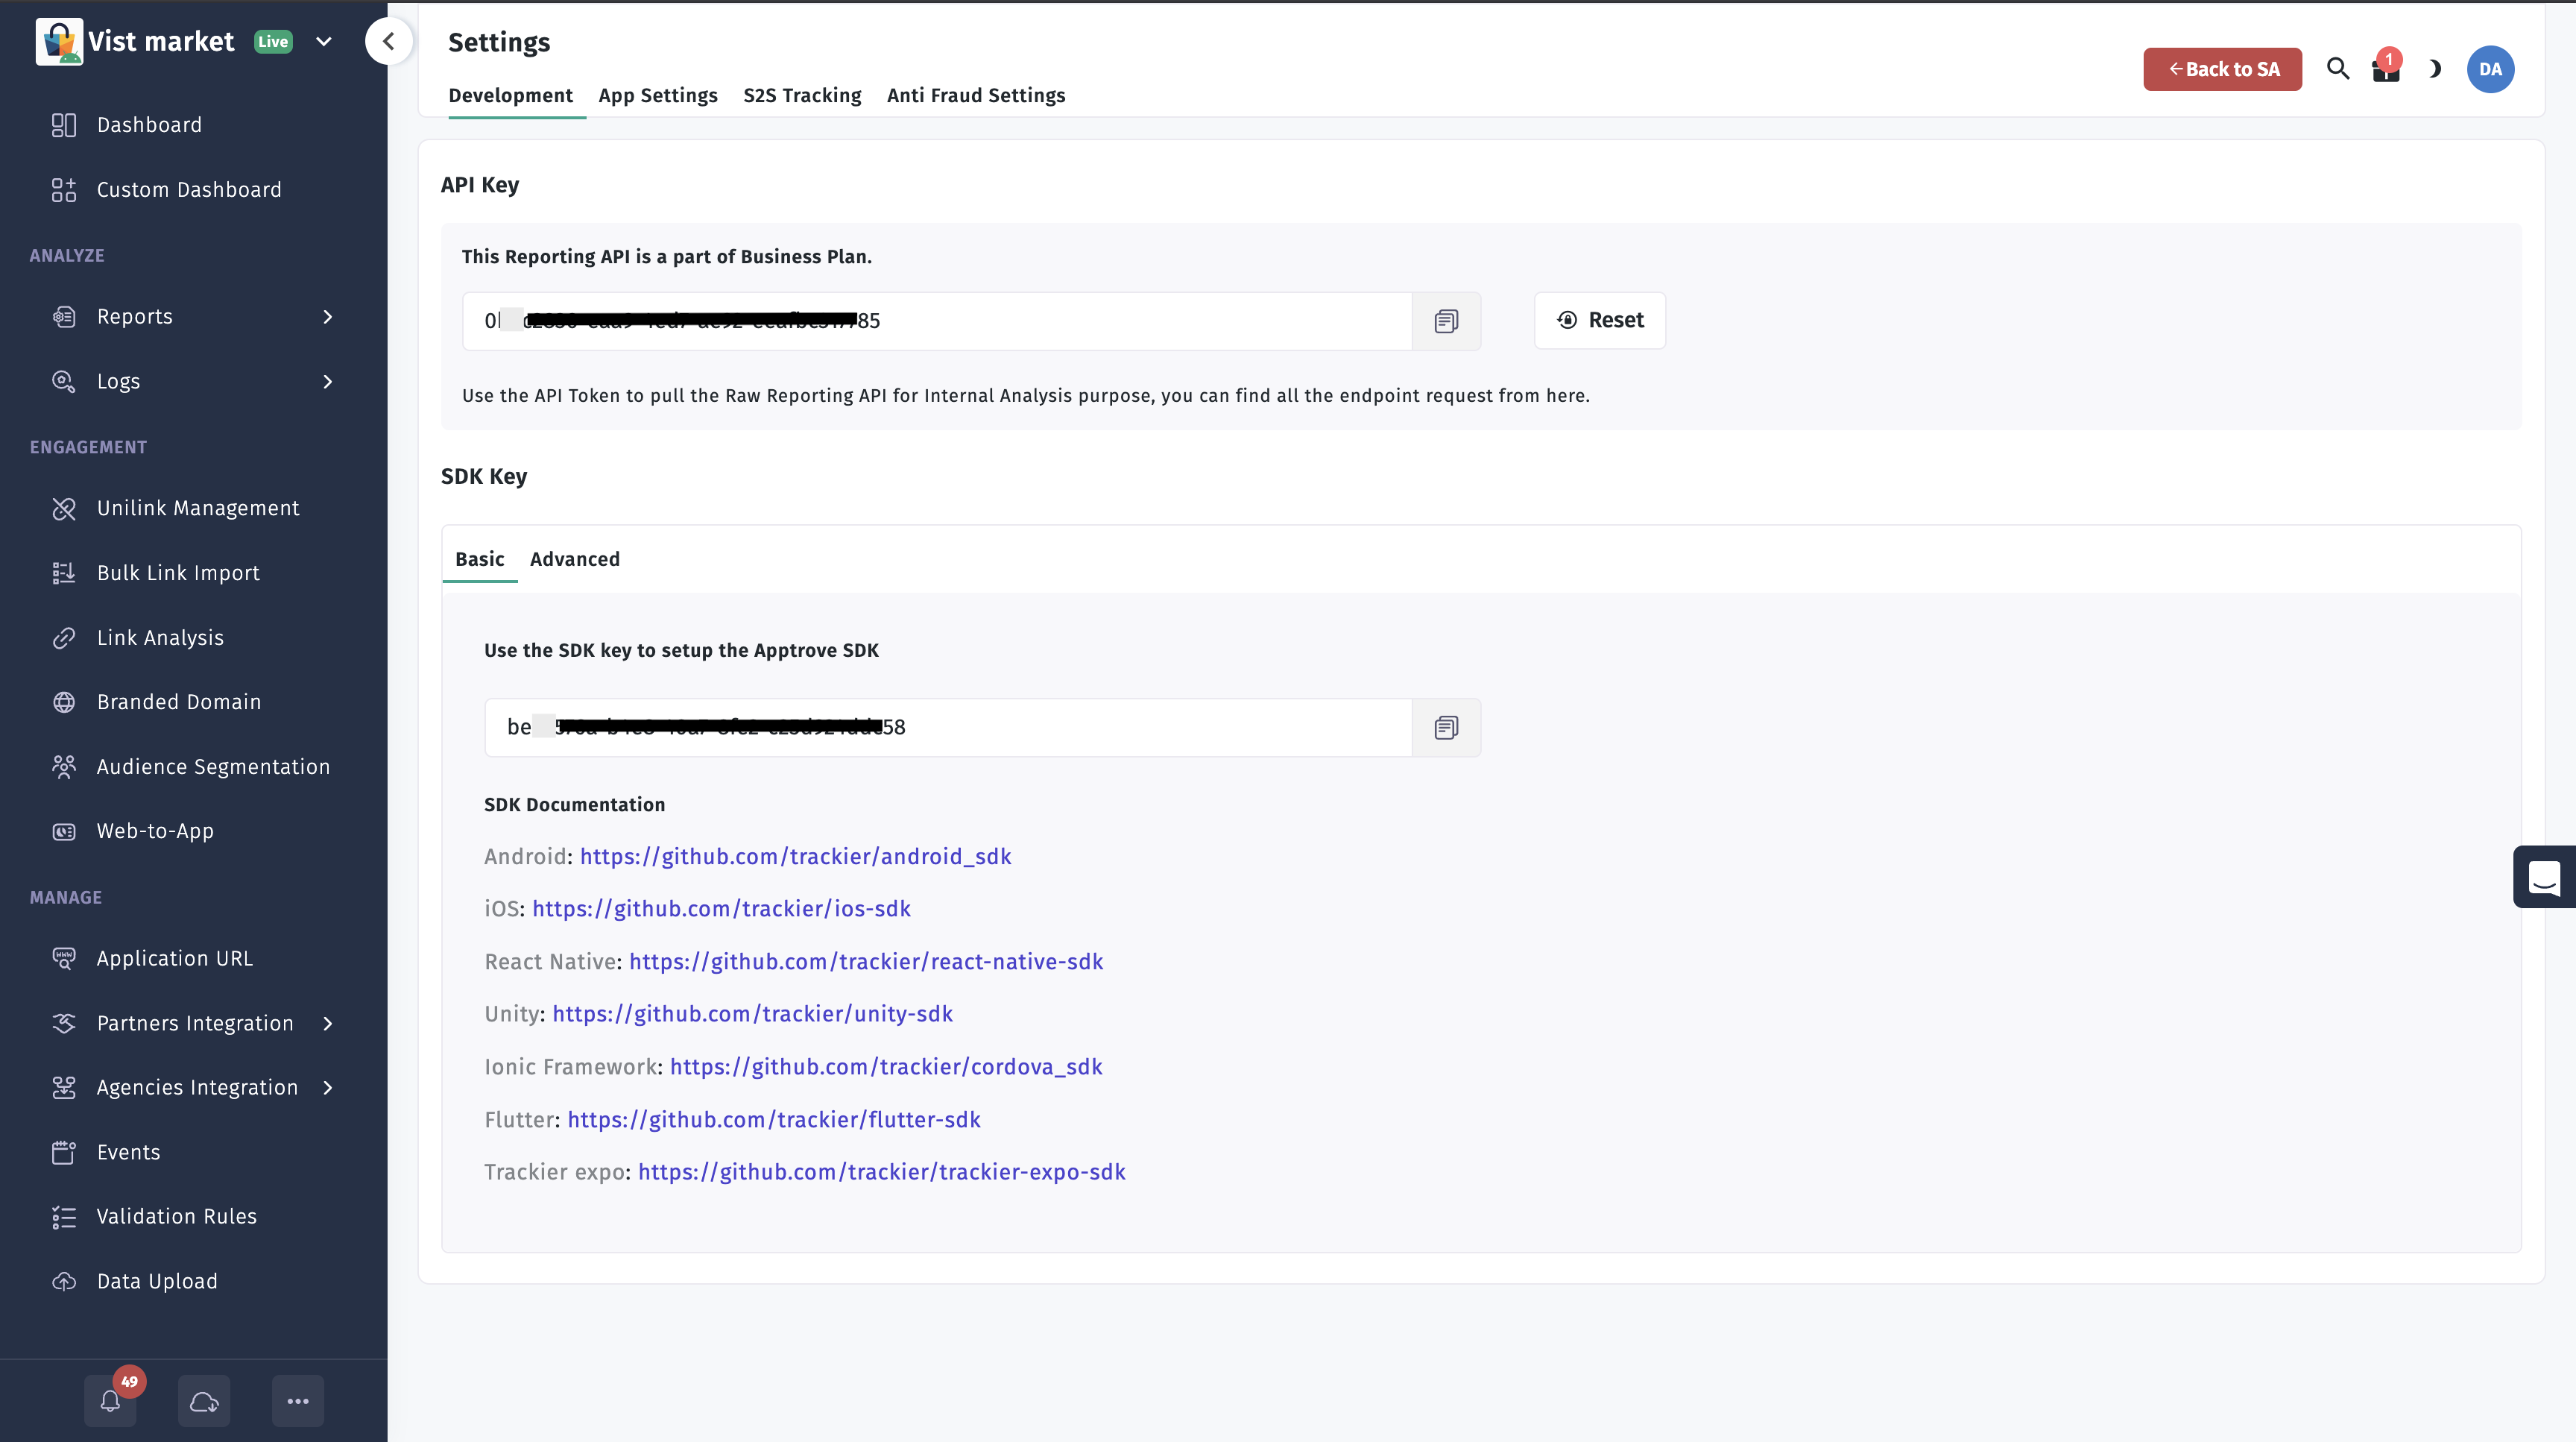
Step 1: Retrieve Your SDK Key
- Log in to your Apptrove Panel
- Select your application
- Navigate to SDK Integration in the dashboard
- Copy the SDK Key displayed
Step 2: Initialize the SDK
We recommend initializing the SDK inside your app's main component or a dedicated initialization file. This ensures proper initialization in all scenarios, including deep linking.
2.1 Import the SDK
Add the following import statement at the top of your main application file (typically App.tsx or App.js):
- ✓ Apptrove SDK (Recommended)
- Trackier SDK (Deprecating August 2026)
import { AppTroveConfig, AppTroveSDK } from 'apptrove-expo-sdk';
import { TrackierConfig, TrackierSDK } from 'trackier-expo-sdk';
2.2 Initialize the Apptrove SDK
Add the initialization code in your main application component's useEffect hook:
- ✓ Apptrove SDK (Recommended)
- Trackier SDK (Deprecating August 2026)
import { useEffect } from 'react';
import { AppTroveConfig, AppTroveSDK } from 'apptrove-expo-sdk';

export default function App() {
  useEffect(() => {
    const TR_SDK_KEY = "XXXXXXX-XXXX-XXXX-80e3-5938fadff"; // Your SDK key

    const appTroveConfig = new AppTroveConfig(
      TR_SDK_KEY,                    // Your Apptrove SDK key
      AppTroveConfig.EnvironmentDevelopment  // Environment: "development", "testing", or "production"
    );

    // Set region for better performance and compliance
    appTroveConfig.setRegion(AppTroveConfig.IN); // For India region
    // OR
    // appTroveConfig.setRegion(AppTroveConfig.GLOBAL); // For global region

    AppTroveSDK.initialize(appTroveConfig);
  }, []);

  return (
    // Your app content
  );
}
import { useEffect } from 'react';
import { TrackierConfig, TrackierSDK } from 'trackier-expo-sdk';

export default function App() {
  useEffect(() => {
    const TR_SDK_KEY = "XXXXXXX-XXXX-XXXX-80e3-5938fadff"; // Your SDK key

    const trackierConfig = new TrackierConfig(
      TR_SDK_KEY,                    // Your Apptrove SDK key
      TrackierConfig.EnvironmentDevelopment  // Environment: "development", "testing", or "production"
    );

    // Set region for better performance and compliance
    trackierConfig.setRegion(TrackierConfig.IN); // For India region
    // OR
    // trackierConfig.setRegion(TrackierConfig.GLOBAL); // For global region

    TrackierSDK.initialize(trackierConfig);
  }, []);

  return (
    // Your app content
  );
}
2.3 Initialize with Apple Ads Token (iOS)
For enhanced tracking on iOS, you can include Apple Ads token initialization:
- ✓ Apptrove SDK (Recommended)
- Trackier SDK (Deprecating August 2026)
import { useEffect } from 'react';
import { AppTroveConfig, AppTroveSDK } from 'apptrove-expo-sdk';
import { getAttributionToken } from 'react-native-attribution-token';

export default function App() {
  useEffect(() => {
    const initializeSDK = async () => {
      const TR_SDK_KEY = "XXXXXXX-XXXX-XXXX-80e3-5938fadff"; // Your SDK key

      // Get Apple Ads token before initializing SDK
      try {
        const appleAdsToken = await getAttributionToken();
        if (appleAdsToken) {
          AppTroveSDK.updateAppleAdsToken(appleAdsToken);
        }
      } catch (error) {
        console.log('Error getting Apple Ads token:', error);
      }

      const appTroveConfig = new AppTroveConfig(
        TR_SDK_KEY,
        AppTroveConfig.EnvironmentDevelopment
      );

      appTroveConfig.setRegion(AppTroveConfig.IN);
      AppTroveSDK.initialize(appTroveConfig);
    };

    initializeSDK();
  }, []);

  return (
    // Your app content
  );
}
import { useEffect } from 'react';
import { TrackierConfig, TrackierSDK } from 'trackier-expo-sdk';
import { getAttributionToken } from 'react-native-attribution-token';

export default function App() {
  useEffect(() => {
    const initializeSDK = async () => {
      const TR_SDK_KEY = "XXXXXXX-XXXX-XXXX-80e3-5938fadff"; // Your SDK key

      // Get Apple Ads token before initializing SDK
      try {
        const appleAdsToken = await getAttributionToken();
        if (appleAdsToken) {
          TrackierSDK.updateAppleAdsToken(appleAdsToken);
        }
      } catch (error) {
        console.log('Error getting Apple Ads token:', error);
      }

      const trackierConfig = new TrackierConfig(
        TR_SDK_KEY,
        TrackierConfig.EnvironmentDevelopment
      );

      trackierConfig.setRegion(TrackierConfig.IN);
      TrackierSDK.initialize(trackierConfig);
    };

    initializeSDK();
  }, []);

  return (
    // Your app content
  );
}
To use Apple Ads token functionality, first install the react-native-attribution-token library:
npm install react-native-attribution-token
Using the wrong SDK key will impact all traffic sent from the SDK and cause attribution/reporting issues.
Step 3: Configure for Production
When ready to release your app:
- Change the environment parameter to
TrackierConfig.EnvironmentProduction - Update your log level as needed
Example for production:
- ✓ Apptrove SDK (Recommended)
- Trackier SDK (Deprecating August 2026)
const appTroveConfig = new AppTroveConfig(TR_SDK_KEY, AppTroveConfig.EnvironmentProduction);
const trackierConfig = new TrackierConfig(TR_SDK_KEY, TrackierConfig.EnvironmentProduction);
Environment Configuration
Depending on whether you build your app for testing or for production, you must set the environment with one of these values:
- ✓ Apptrove SDK (Recommended)
- Trackier SDK (Deprecating August 2026)
AppTroveConfig.EnvironmentTesting    // For testing environment
AppTroveConfig.EnvironmentDevelopment // For development environment
AppTroveConfig.EnvironmentProduction  // For production environment
TrackierConfig.EnvironmentTesting    // For testing environment
TrackierConfig.EnvironmentDevelopment // For development environment
TrackierConfig.EnvironmentProduction  // For production environment
Next Steps
After completing the initialization:
- Verify your integration by checking for incoming events in the Apptrove Panel
- Implement event tracking as needed (refer to the Event Tracking Guide)
- For assistance, contact Apptrove support at support@apptrove.com