Choose your SDK version below:
- Apptrove SDK → Recommended for all projects (Latest: v2.x.x)
- Trackier SDK → Will be deprecated in August 2026 (v1.x.xx)
Use the tabs below to view event tracking code for your chosen SDK.
Overview
This guide provides instructions for tracking user interactions in your Flutter application using the Apptrove Flutter SDK's event object (AppTroveEvent for Apptrove SDK, TrackierEvent for Trackier SDK). Event tracking offers insights into user actions, such as logins, purchases, or custom events, enabling better analytics and optimization.
Prerequisites
- A Flutter application with the Apptrove SDK installed and initialized
- Access to the Apptrove Panel for configuring custom events
- Flutter 2.0 or later, Dart 2.12 or later
- Basic knowledge of Dart and Flutter development
Event Tracking
Event tracking provides insights into how users interact with your app. The SDK event object is used to structure and send event information to Apptrove servers, triggered by user actions like button clicks. The SDK supports built-in events, custom events, revenue events, and custom parameters.
1. Built-in Events
Built-in events are predefined constants available on the Apptrove dashboard. You can implement these events directly in your app to track common user interactions. Use AppTroveEvent (Apptrove SDK) or TrackierEvent (Trackier SDK) for the same event IDs.
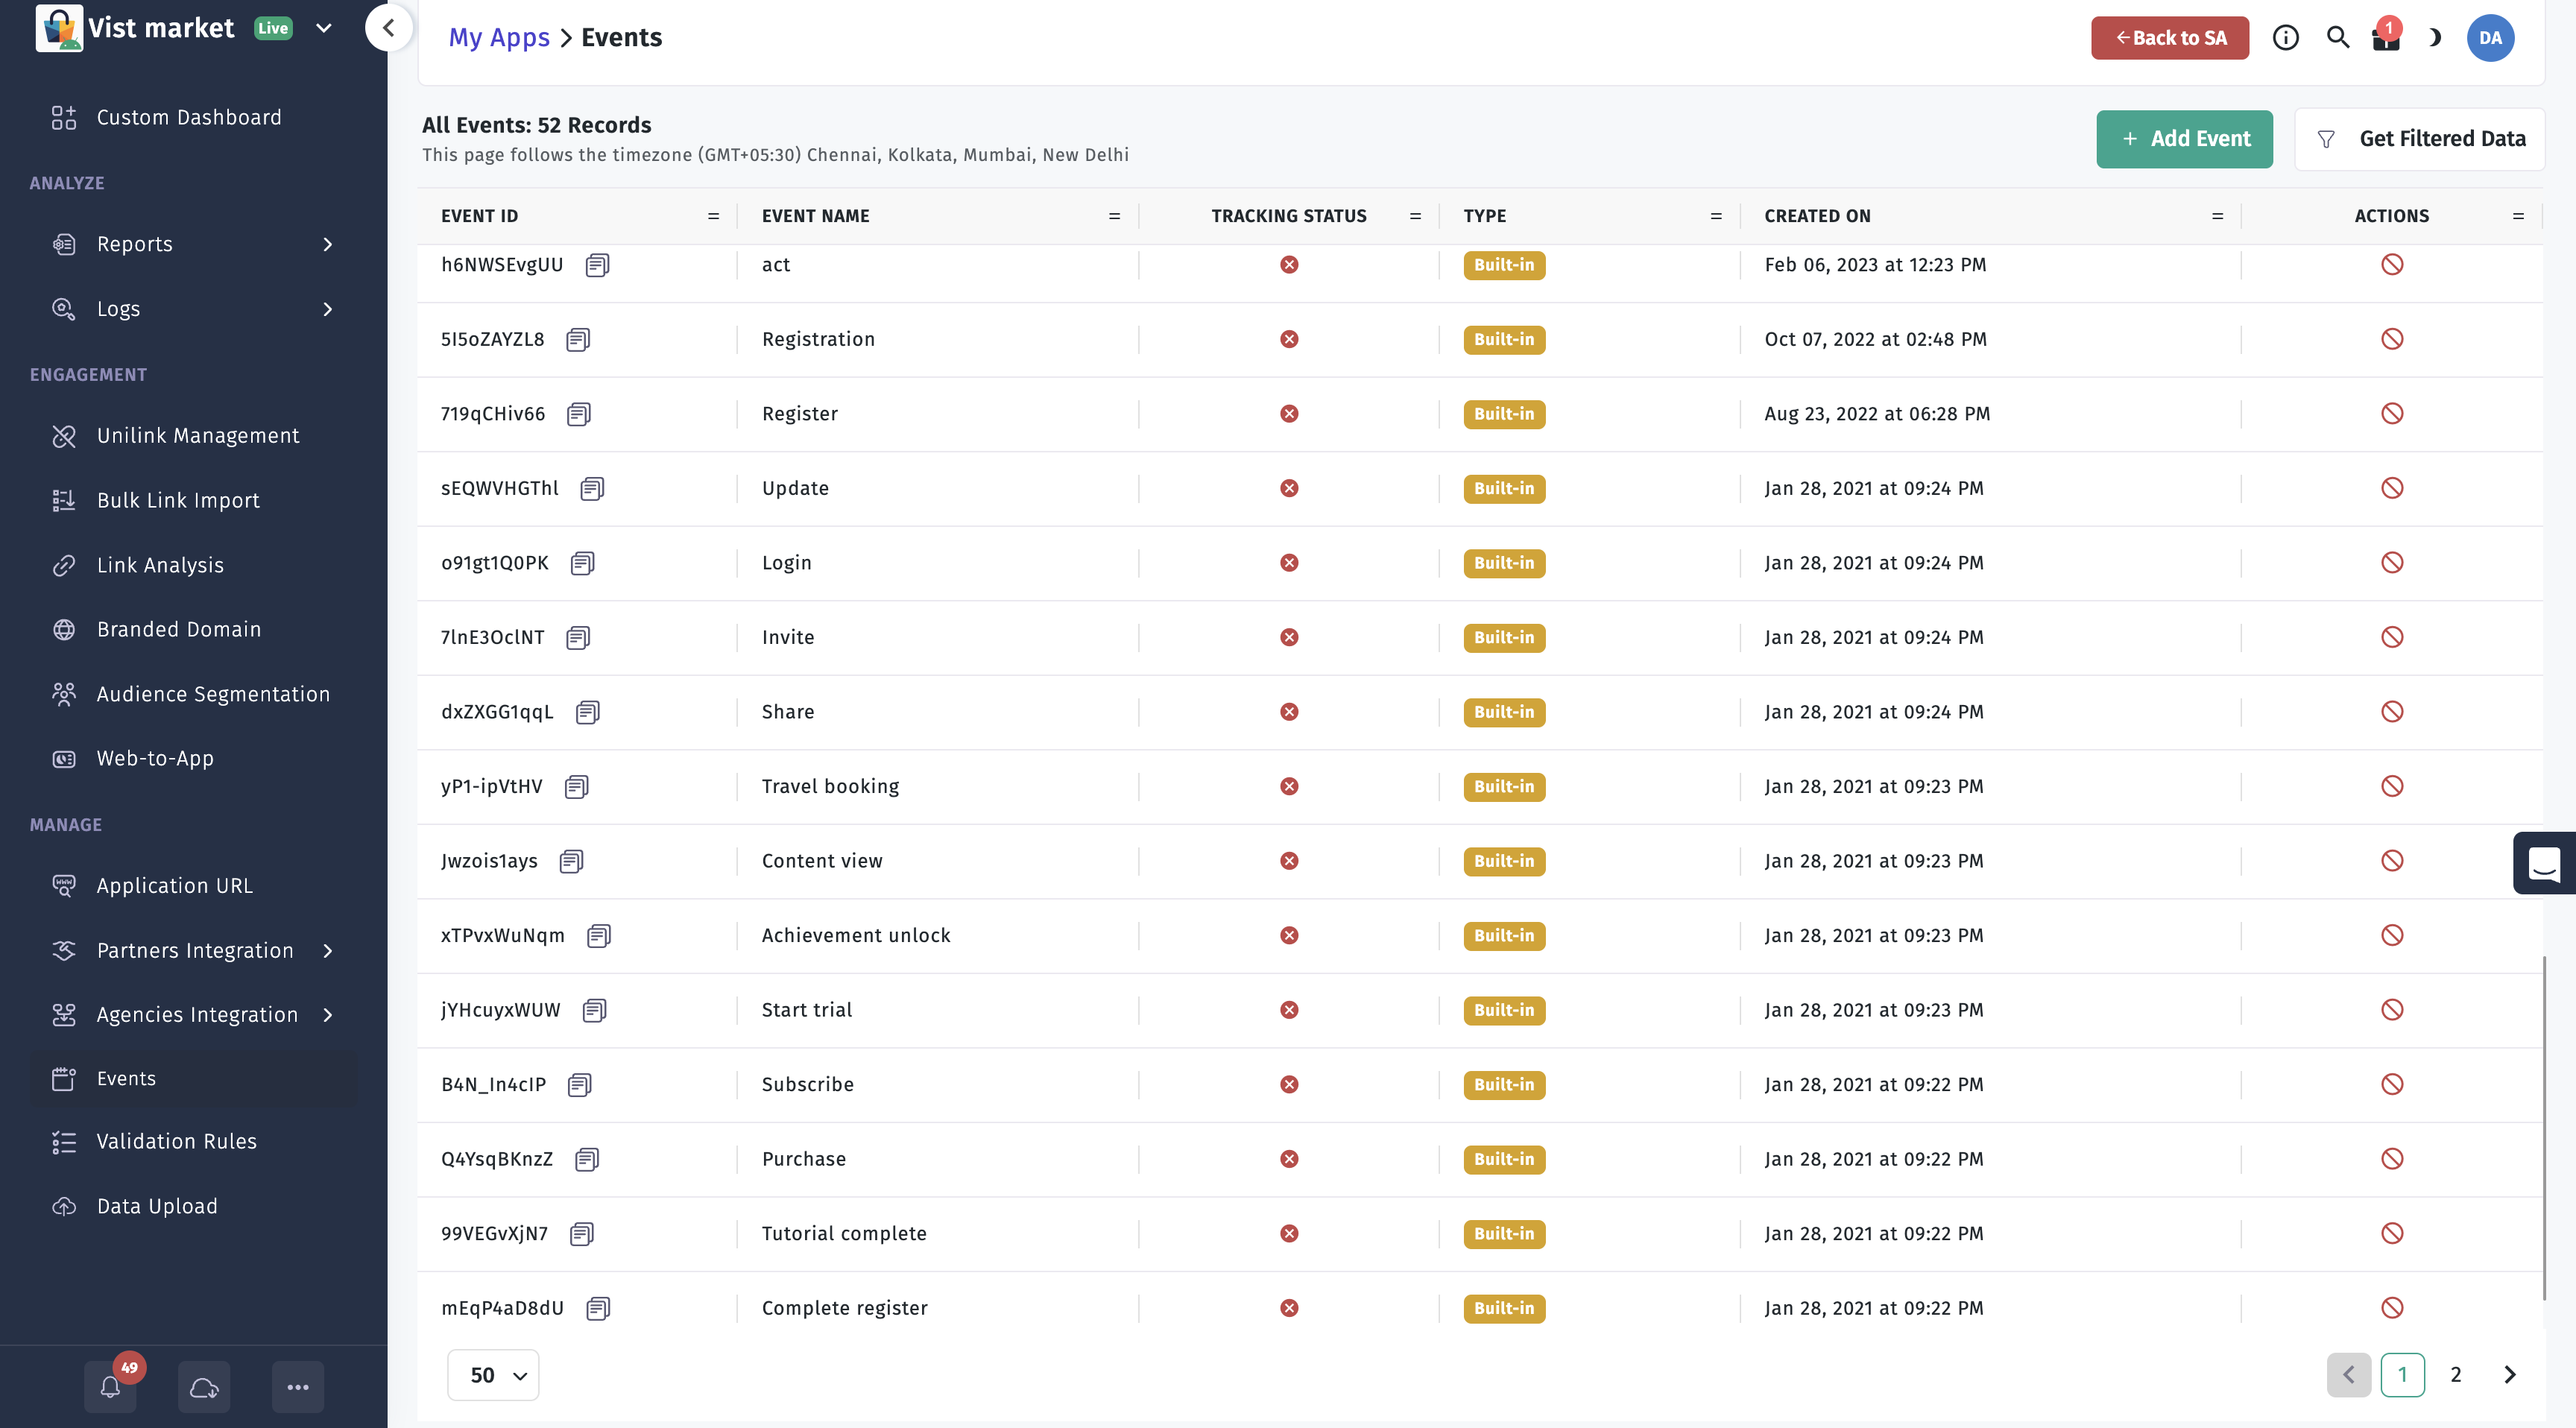
Supported Built-in Events
LOGIN,REGISTER,LOGOUT,PURCHASECHECKOUT_STARTED,CHECKOUT_COMPLETED,ADD_TO_WISHLIST,CONTENT_VIEWVIEW_CART,REMOVE_FROM_CART,SEARCH,PRODUCT_VIEWUPDATE,INVITE,SHARE,START_TRIAL,SUBSCRIBECOMPLETE_REGISTER,ACHIEVEMENT_UNLOCK,TUTORIAL_COMPLETE,APP_OPENTRAVEL_BOOKING,PRODUCT_SEARCH,REGISTRATION,ADD_TO_CART,LEVEL_ACHIEVED
Available Parameters
You can include additional data with events using the following parameters:
orderIdrevenuecurrencyparam1,param2,param3,param4,param5,param6,param7,param8,param9,param10
Usage
Create an event instance with the event ID and trigger it on a user action, such as a button click. Below is an example for tracking a LOGIN event.
- ✓ Apptrove SDK (Recommended)
- Trackier SDK (Deprecating August 2026)
/*
 * Pass an event to the Apptrove SDK (Event ID only required).
 * Example: built-in LOGIN event with optional params and custom key-value data.
 */
void _eventsTracking() {
  AppTroveEvent event = AppTroveEvent(AppTroveEvent.LOGIN);

  event.param1 = "param1";
  event.param2 = "param2";
  event.param3 = "param3";
  event.param4 = "param4";
  event.param5 = "param5";

  event.setEventValue("ev1", "eventValue1");
  event.setEventValue("ev2", 1);
  AppTroveFlutterSdk.trackEvent(event);
}
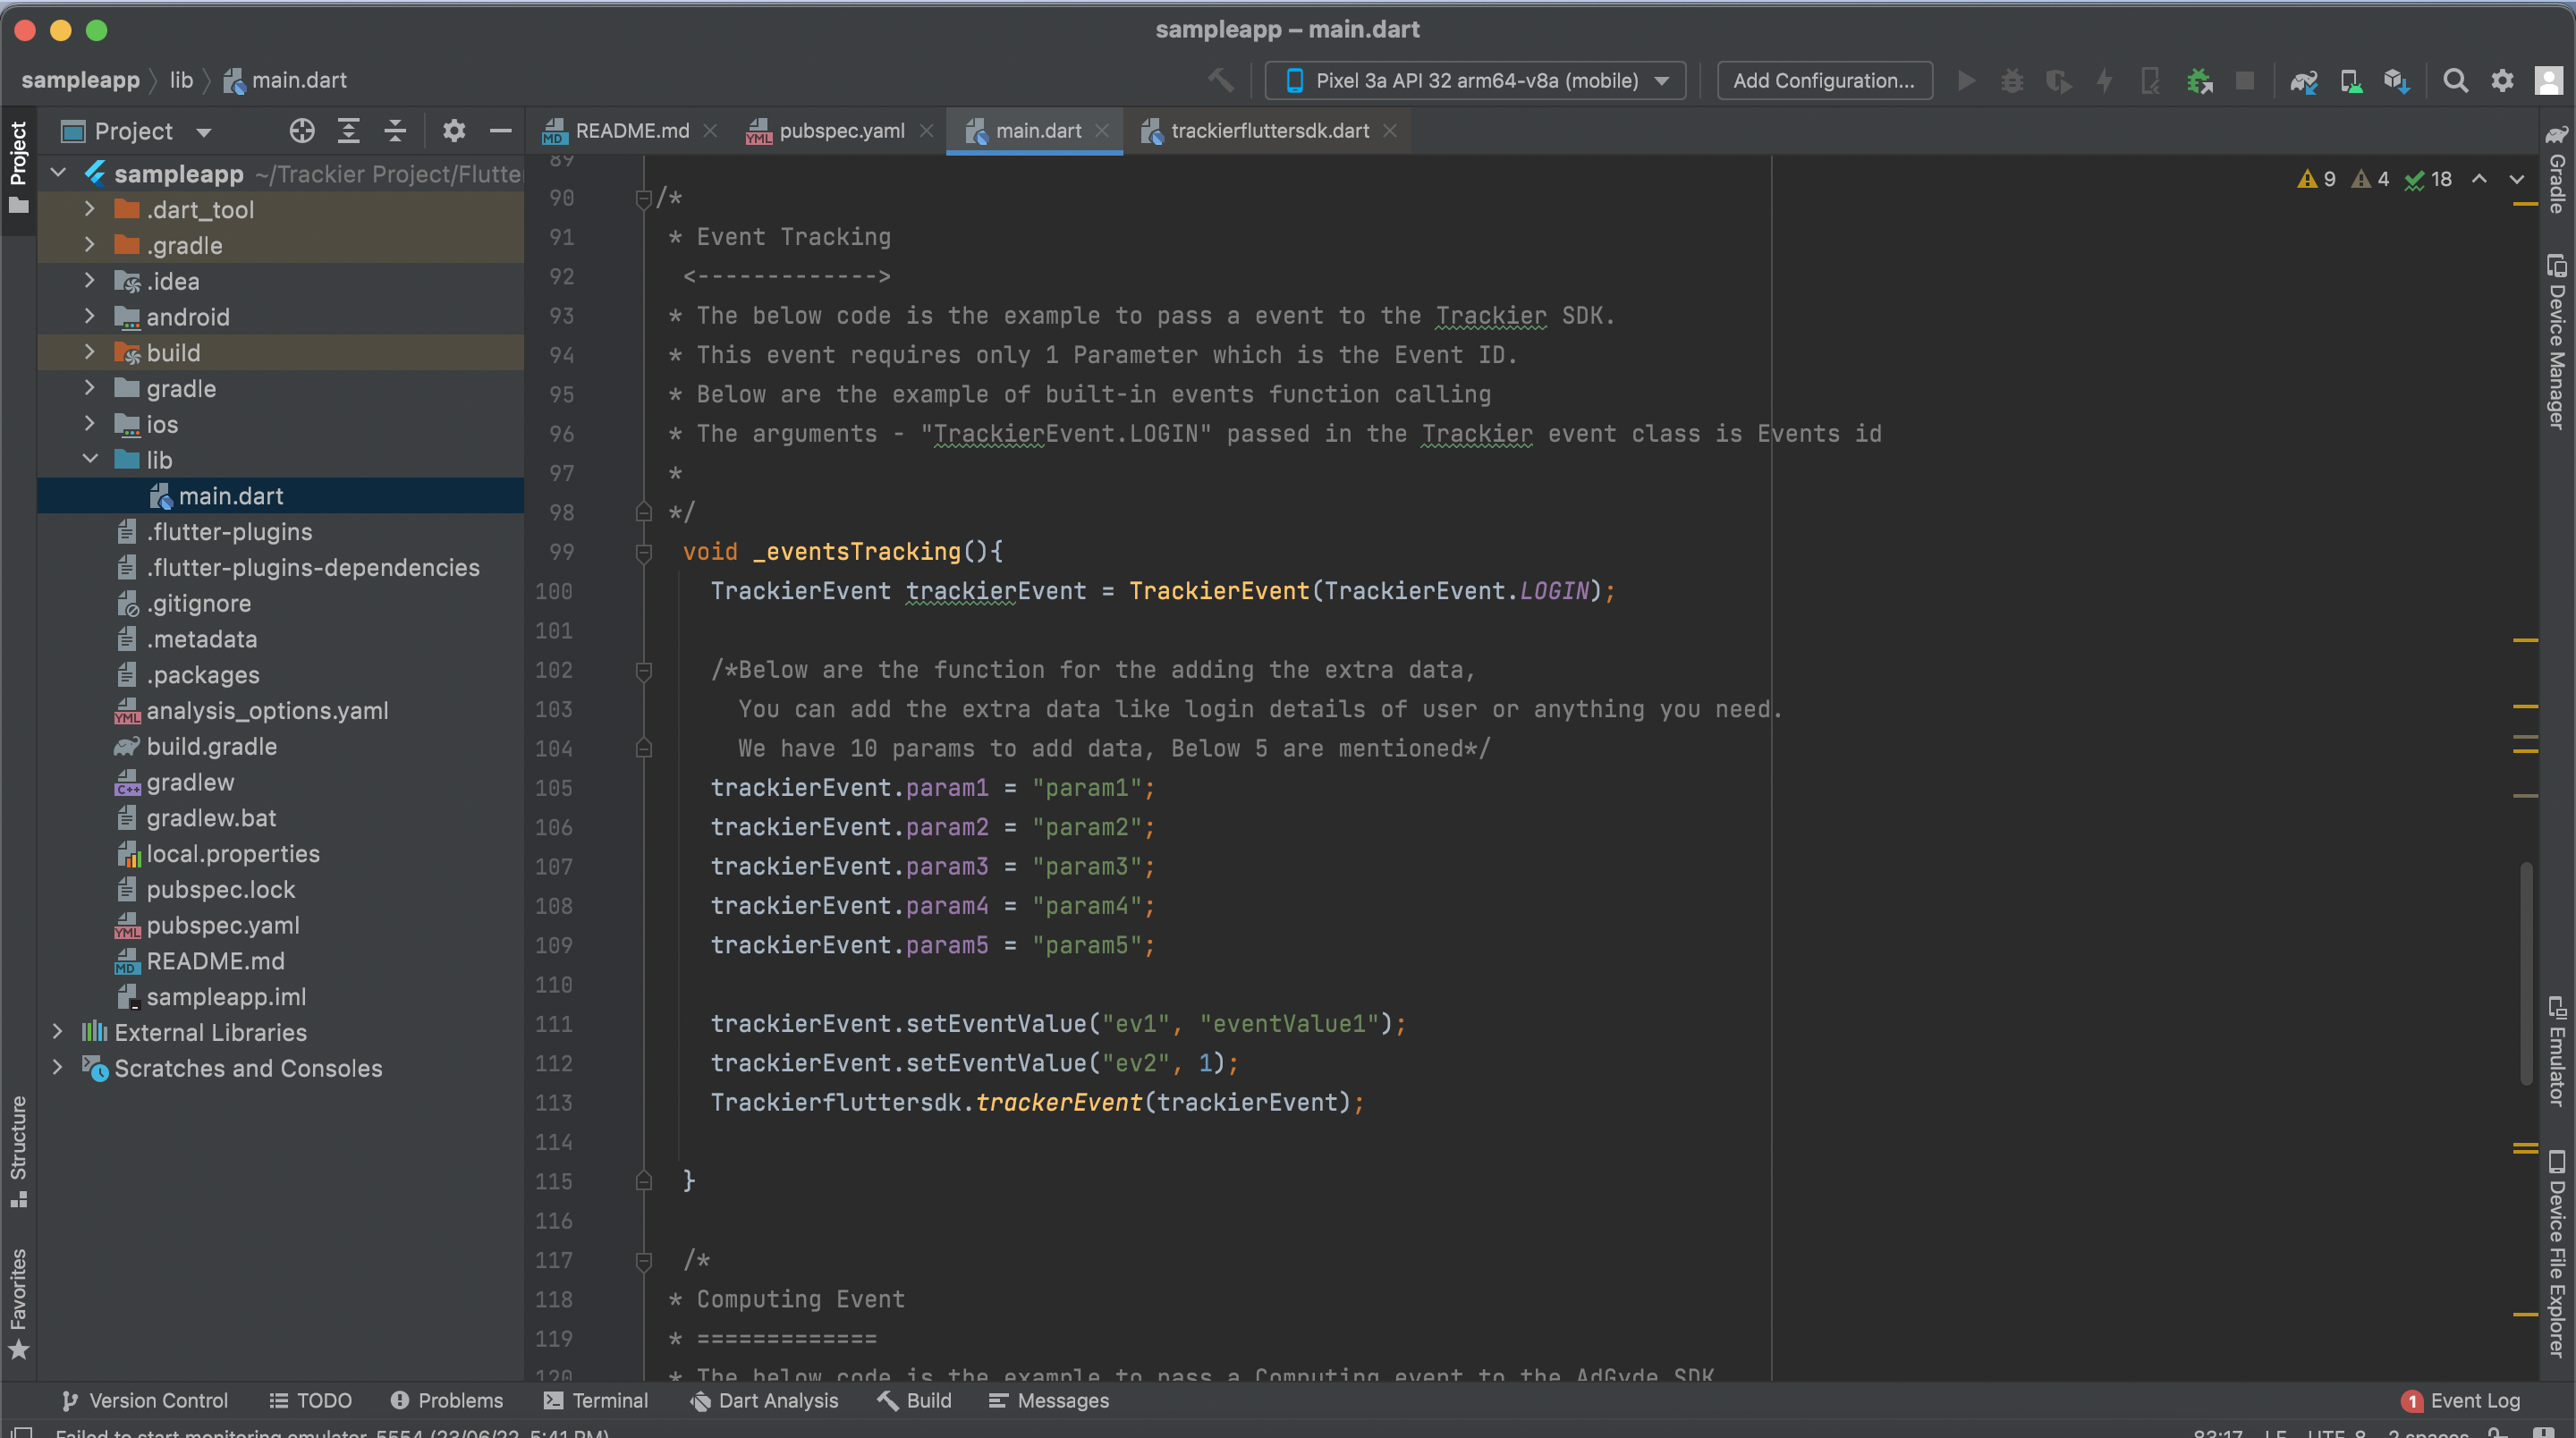
/*
 * The below code is the example to pass an event to the Apptrove SDK.
 * This event requires only 1 Parameter which is the Event ID.
 * The arguments - "TrackierEvent.LOGIN" passed in the Trackier event class is Events id
 */
void _eventsTracking() {
  TrackierEvent trackierEvent = TrackierEvent(TrackierEvent.LOGIN);

  trackierEvent.param1 = "param1";
  trackierEvent.param2 = "param2";
  trackierEvent.param3 = "param3";
  trackierEvent.param4 = "param4";
  trackierEvent.param5 = "param5";

  trackierEvent.setEventValue("ev1", "eventValue1");
  trackierEvent.setEventValue("ev2", 1);
  Trackierfluttersdk.trackEvent(trackierEvent);
}
2. Custom Events
Custom events are defined in the Apptrove dashboard and identified by unique event IDs. Use these to track app-specific interactions not covered by built-in events.
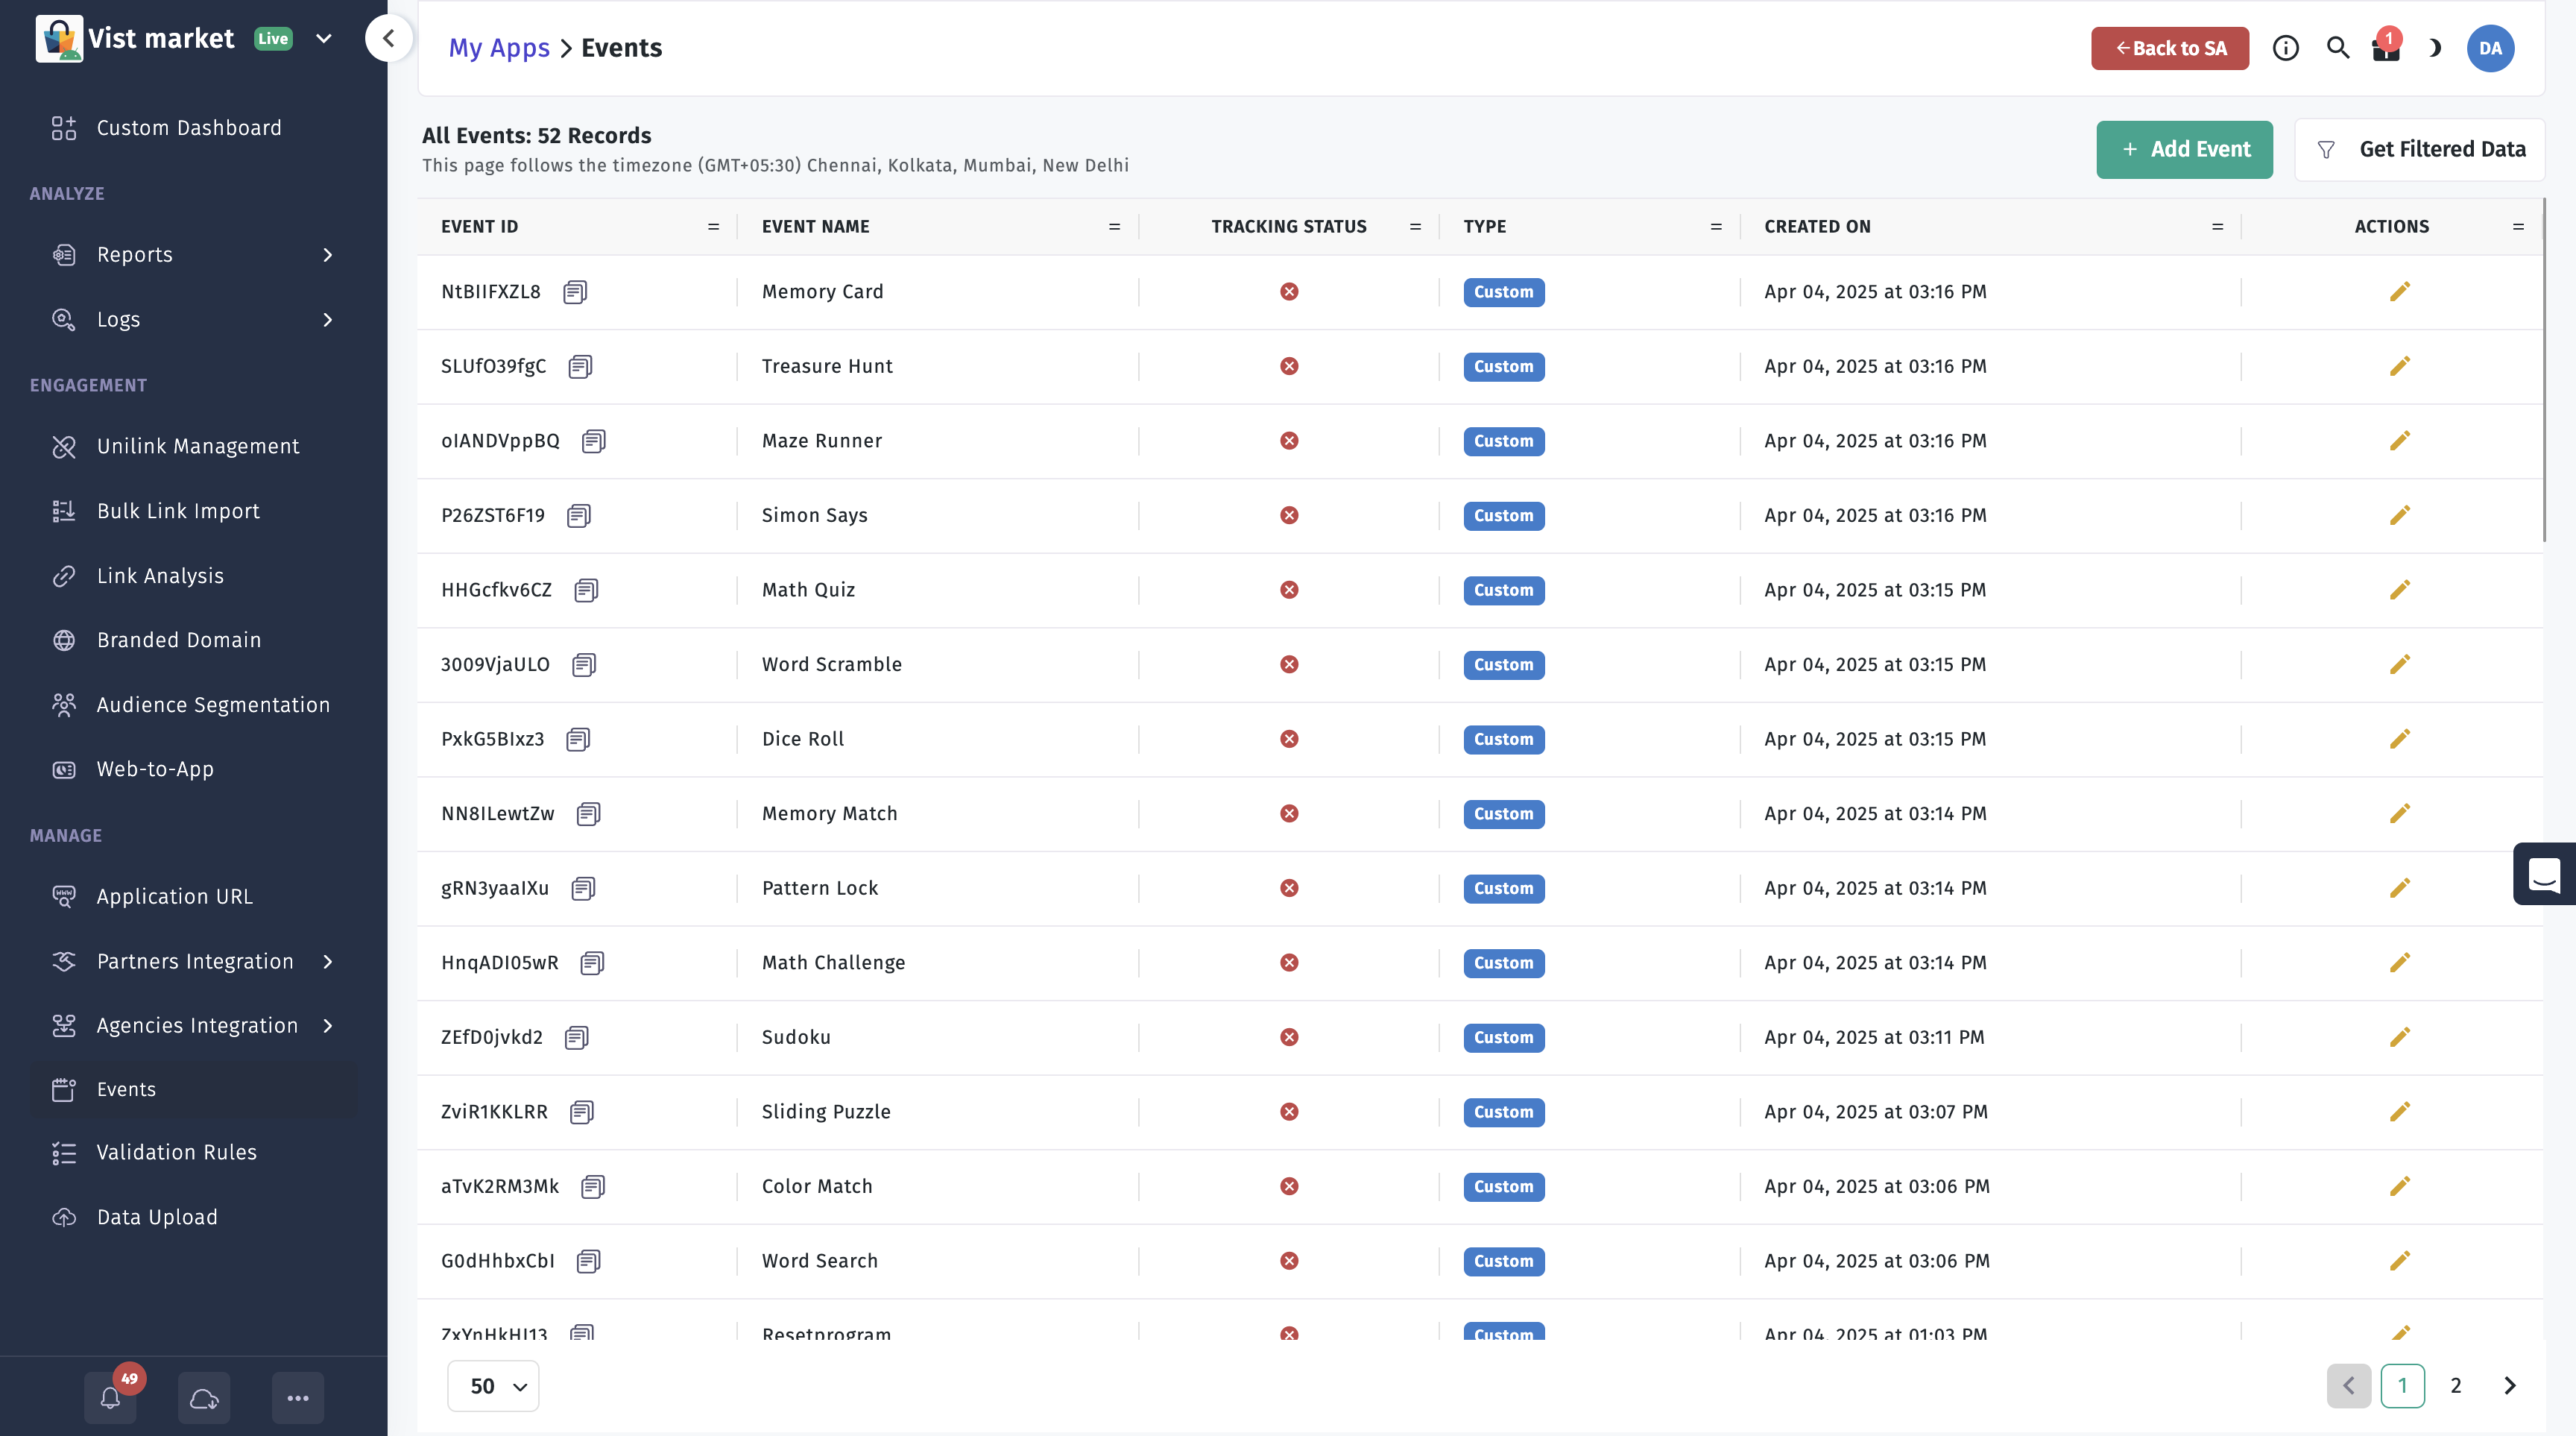
Usage
Create an event instance with the custom event ID from the Apptrove dashboard and trigger it as needed.
- ✓ Apptrove SDK (Recommended)
- Trackier SDK (Deprecating August 2026)
/*
 * Pass a custom event to the Apptrove SDK.
 * "sEMWSCTXeu" is the custom Event ID from the dashboard (replace with your ID).
 */
void _eventsTracking() {
  AppTroveEvent event = AppTroveEvent("sEMWSCTXeu");

  event.param1 = "param1";
  event.param2 = "param2";
  event.param3 = "param3";
  event.param4 = "param4";
  event.param5 = "param5";

  event.setEventValue("ev1", "eventValue1");
  event.setEventValue("ev2", 1);
  AppTroveFlutterSdk.trackEvent(event);
}
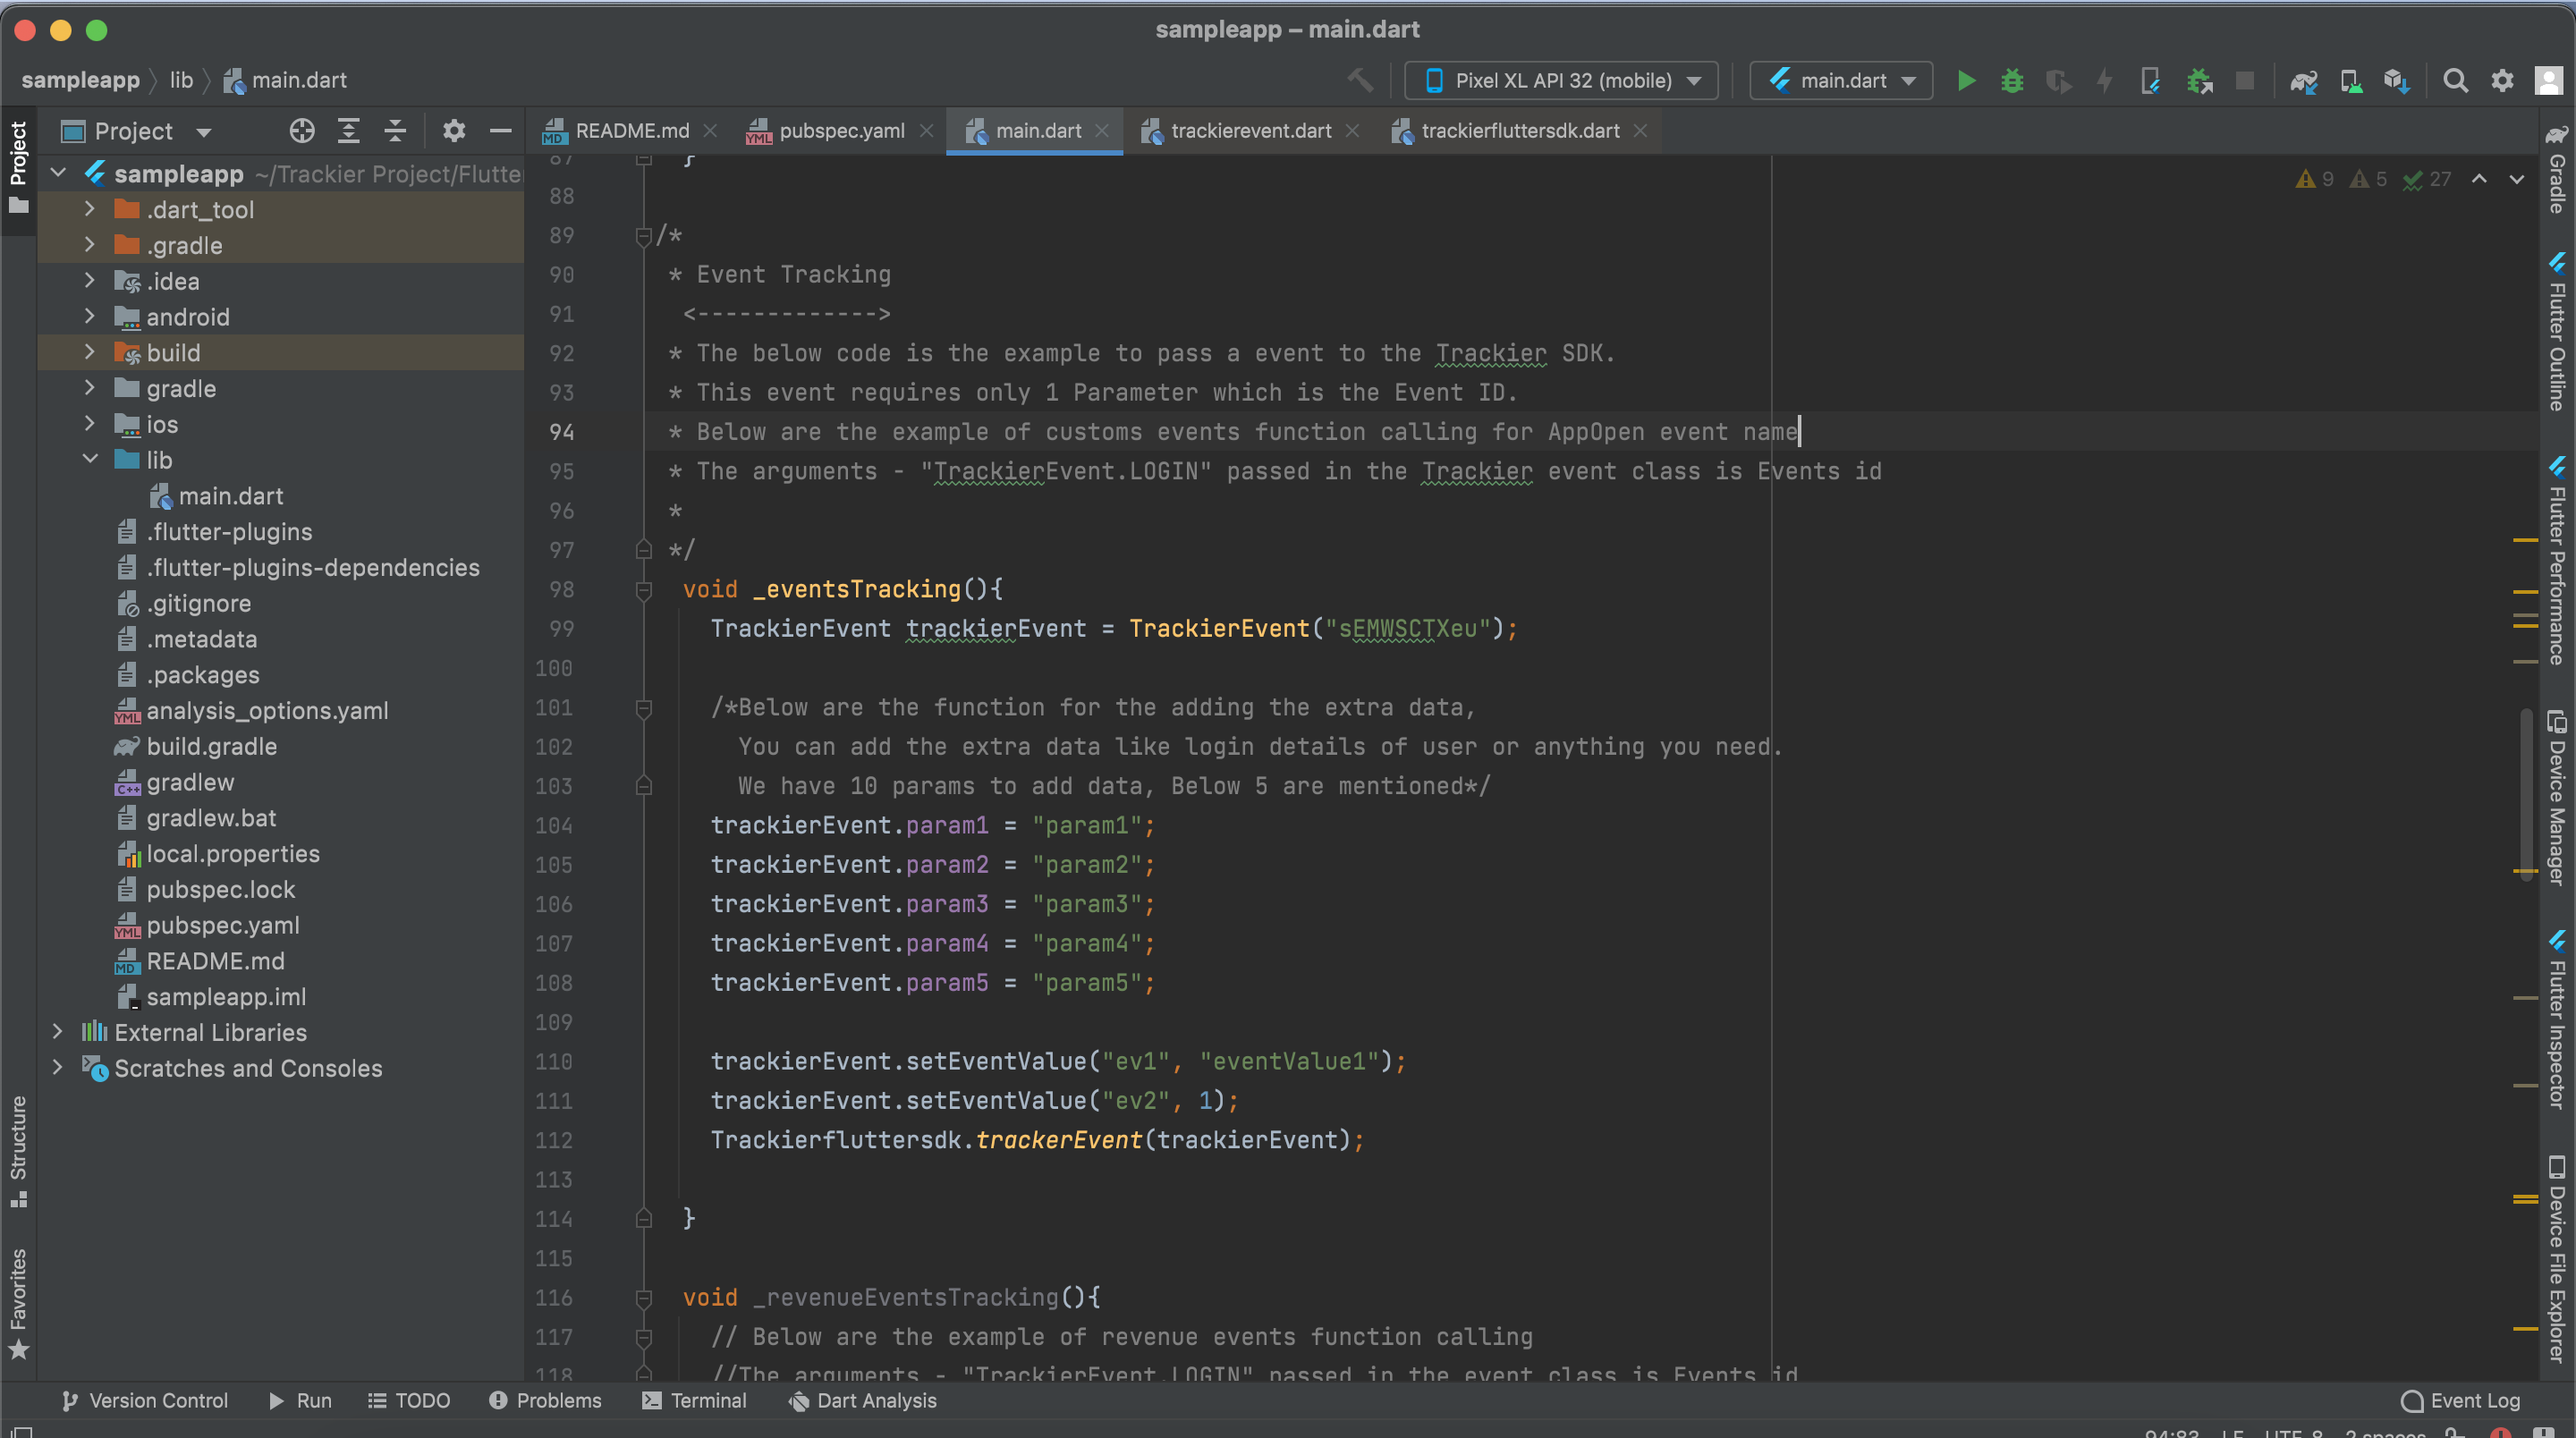
/*
 * The arguments - "sEMWSCTXeu" passed in the Trackier event class is the custom Event ID from the dashboard.
 */
void _eventsTracking() {
  TrackierEvent trackierEvent = TrackierEvent("sEMWSCTXeu");

  trackierEvent.param1 = "param1";
  trackierEvent.param2 = "param2";
  trackierEvent.param3 = "param3";
  trackierEvent.param4 = "param4";
  trackierEvent.param5 = "param5";

  trackierEvent.setEventValue("ev1", "eventValue1");
  trackierEvent.setEventValue("ev2", 1);
  Trackierfluttersdk.trackEvent(trackierEvent);
}
3. Complete Event Tracking Example
This comprehensive example demonstrates how to track a COMPLETE_REGISTRATION event with all available parameters, user data, and custom attributes.
- ✓ Apptrove SDK (Recommended)
- Trackier SDK (Deprecating August 2026)
void trackCompleteRegistration() {

    // Create event with COMPLETE_REGISTRATION or custom Event ID
    AppTroveEvent event = AppTroveEvent(AppTroveEvent.COMPLETE_REGISTRATION);
    // Alternatively: AppTroveEvent event = AppTroveEvent("w43424"); // Your custom Event ID

    event.orderId = "REG_001";
    event.couponCode = "";
    event.discount = 0.0;
    event.revenue = 0.0;
    event.currency = "USD";

    event.param1 = "Test1"; event.param2 = "Test2"; event.param3 = "Test3";
    event.param4 = "Test4"; event.param5 = "Test5"; event.param6 = "Test6";
    event.param7 = "Test7"; event.param8 = "Test8"; event.param9 = "Test9"; event.param10 = "Test10";

    event.setEventValue("signup_time", 1631234567890);
    event.setEventValue("device", "Flutter");

    AppTroveFlutterSdk.setUserId("USER123");
    AppTroveFlutterSdk.setUserEmail("user@example.com");
    AppTroveFlutterSdk.setUserName("Jane Doe");
    AppTroveFlutterSdk.setUserPhone("+1234567890");
    AppTroveFlutterSdk.setDOB("1990-01-01");
    AppTroveFlutterSdk.setGender(Gender.Male);
    AppTroveFlutterSdk.setIMEI("123456789012345", "987654321098765");
    AppTroveFlutterSdk.setMacAddress("00:1A:2B:3C:4D:5E");

    var eventCustomParams = Map<String, Object>();
    eventCustomParams["name"] = "abcd";
    eventCustomParams["age"] = "28";
    event.evMap = eventCustomParams;

    Map<String, Object> userDetails = {
      "Plan": "FREE_PLAN",
      "SignupMethod": "Email",
      "AppVersion": "1.0.0",
    };
    AppTroveFlutterSdk.setUserAdditionalDetails(userDetails);

    AppTroveFlutterSdk.trackEvent(event);
}
void trackCompleteRegistration() {

    TrackierEvent event = TrackierEvent(TrackierEvent.COMPLETE_REGISTRATION);
    // Alternatively: TrackierEvent event = TrackierEvent("w43424"); // Pass your Event ID

    event.orderId = "REG_001";
    event.couponCode = "";
    event.discount = 0.0;
    event.revenue = 0.0;
    event.currency = "USD";

    event.param1 = "Test1"; event.param2 = "Test2"; event.param3 = "Test3";
    event.param4 = "Test4"; event.param5 = "Test5"; event.param6 = "Test6";
    event.param7 = "Test7"; event.param8 = "Test8"; event.param9 = "Test9"; event.param10 = "Test10";

    event.setEventValue("signup_time", 1631234567890);
    event.setEventValue("device", "Flutter");

    Trackierfluttersdk.setUserId("USER123");
    Trackierfluttersdk.setUserEmail("user@example.com");
    Trackierfluttersdk.setUserName("Jane Doe");
    Trackierfluttersdk.setUserPhone("+1234567890");
    Trackierfluttersdk.setDOB("1990-01-01");
    Trackierfluttersdk.setGender(Gender.Male);
    Trackierfluttersdk.setIMEI("123456789012345", "987654321098765");
    Trackierfluttersdk.setMacAddress("00:1A:2B:3C:4D:5E");

    var eventCustomParams = Map<String, Object>();
    eventCustomParams["name"] = "abcd";
    eventCustomParams["age"] = "28";
    event.evMap = eventCustomParams;

    Map<String, Object> userDetails = {
      "Plan": "FREE_PLAN",
      "SignupMethod": "Email",
      "AppVersion": "1.0.0",
    };
    Trackierfluttersdk.setUserAdditonalDetail(userDetails);

    Trackierfluttersdk.trackEvent(event);
}
4. Revenue Events
Revenue events track in-app revenue, including the amount, currency, and order ID, to monitor app monetization. Use these for actions like purchases, subscription activations, or in-app purchase completions.
Usage
Create an event instance, set the revenue, currency, and other relevant fields, and trigger the event.
- ✓ Apptrove SDK (Recommended)
- Trackier SDK (Deprecating August 2026)
void _revenueEventsTracking() {
  AppTroveEvent event = AppTroveEvent(AppTroveEvent.LOGIN);

  event.revenue = 10.0;      // Your revenue
  event.currency = "INR";     // Currency code
  event.orderId = "orderID";
  event.param1 = "param1";
  event.param2 = "param2";
  event.setEventValue("ev1", "eventValue1");
  event.setEventValue("ev2", 1);
  AppTroveFlutterSdk.trackEvent(event);
}
void _revenueEventsTracking() {
  TrackierEvent trackierEvent = TrackierEvent(TrackierEvent.LOGIN);

  trackierEvent.revenue = 10.0;
  trackierEvent.currency = "INR";
  trackierEvent.orderId = "orderID";
  trackierEvent.param1 = "param1";
  trackierEvent.param2 = "param2";
  trackierEvent.setEventValue("ev1", "eventValue1");
  trackierEvent.setEventValue("ev2", 1);
  Trackierfluttersdk.trackEvent(trackierEvent);
}
5. Custom Parameters
Add custom key-value pairs to events for additional context, such as user details or event-specific metadata.
Usage
Create an event instance, set custom parameters using a Map, and assign it to evMap before tracking.
- ✓ Apptrove SDK (Recommended)
- Trackier SDK (Deprecating August 2026)
void customParamTracking() {
  AppTroveEvent event = AppTroveEvent(AppTroveEvent.LOGIN);

  var eventCustomParams = Map<String, Object>();
  eventCustomParams["name"] = "abcd";
  eventCustomParams["age"] = "28";
  event.evMap = eventCustomParams;
  AppTroveFlutterSdk.trackEvent(event);
}
void customParamTracking() {
  TrackierEvent trackierEvent = TrackierEvent(TrackierEvent.LOGIN);

  var eventCustomParams = Map<String, Object>();
  eventCustomParams["name"] = "abcd";
  eventCustomParams["age"] = "28";
  trackierEvent.evMap = eventCustomParams;
  Trackierfluttersdk.trackEvent(trackierEvent);
}
Best Practices
- Use Built-in Events: Leverage built-in events for standard interactions to simplify integration.
- Define Custom Events: Create custom events in the Apptrove dashboard for app-specific actions.
- Include Relevant Parameters: Set
revenue,currency, andorderIdfor revenue events to ensure accurate monetization tracking. - Test in Development Mode: Use
"development"or"testing"environments to validate events before switching to"production". - Use Meaningful Parameter Names: Choose descriptive names for custom parameters to improve reporting clarity.
- Trigger Events Asynchronously: Ensure events do not block the main thread to maintain app performance.
Troubleshooting
- Events Not Tracking: Verify the SDK is initialized and the correct event ID is used.
- Invalid Parameters: Ensure parameter names match those defined in the Apptrove dashboard.
- Revenue Issues: Confirm the
revenue,currency, andorderIdfields are set correctly. - Custom Parameters Not Recorded: Check that the
evMapis properly assigned before tracking the event.
For further assistance, refer to the Apptrove Documentation Portal or contact support at support@apptrove.com.